We all want to get the best out of our 3D printed models, both in terms of quality and speed. The problem is most of the time quality and speed don’t go hand in hand and finding the sweet spot between quality and speed will take some trial and error for every printer and filament type.
In this article, I will talk about how much impact print speed has on print quality, the most common problems, and how to find the best settings.
- Does Printing Speed affect the Print’s Quality?
- Why does it affect printing quality?
- Best Speed Settings for 3D Printing
- Print Speed and Print Duration
- Problems that arise when printing too fast
- Other ways of achieving faster Print Times
- Does Filament type affect the Print Speed?
- How fast can a 3D printer print?
- Ender 3 (Pro and V2) Speed settings
- Check out our recommended products section
Does Printing Speed affect the Print’s Quality?

More often than not the print speed has a significant impact on print quality. As a rule of thumb, slow print speeds produce better quality prints. Achieving fast printing times without losing printing quality is possible, but that will depend on your 3D printer’s type and the quality of the materials used.
Why does it affect printing quality?
The degree to which printing speed affects your print’s quality will be tied to the machine’s ability to handle that given speed. Most consumer-grade 3D printers are not made with fast printing times in mind. These machines are usually made with cheap materials to make them affordable to everyone. As you increase printing speed these design and material deficiencies are more noticeable.
Fast movements from the extruder generate a significant amount of vibrations and the results are poor quality prints. Bowden setups have less weight on the extruder thus are more stable and mitigate this issue. A good quality 3D printer with a Bowden setup can achieve fast printing speeds without losing quality.
Besides the 3D printer’s quality, we need to consider the filaments used to print. Even if the 3D printer can handle a given printing speed, the filament can only melt so fast thus limiting the extrusion flow rates. Different types of filament printed at the same speed yield disparate results as they possess different physical and chemical properties.
Best Speed Settings for 3D Printing
In 3D printing, the best settings vary for every maker as optimal settings depend on many factors such as the 3D printer model, filament, and environmental conditions.
Printing Speed
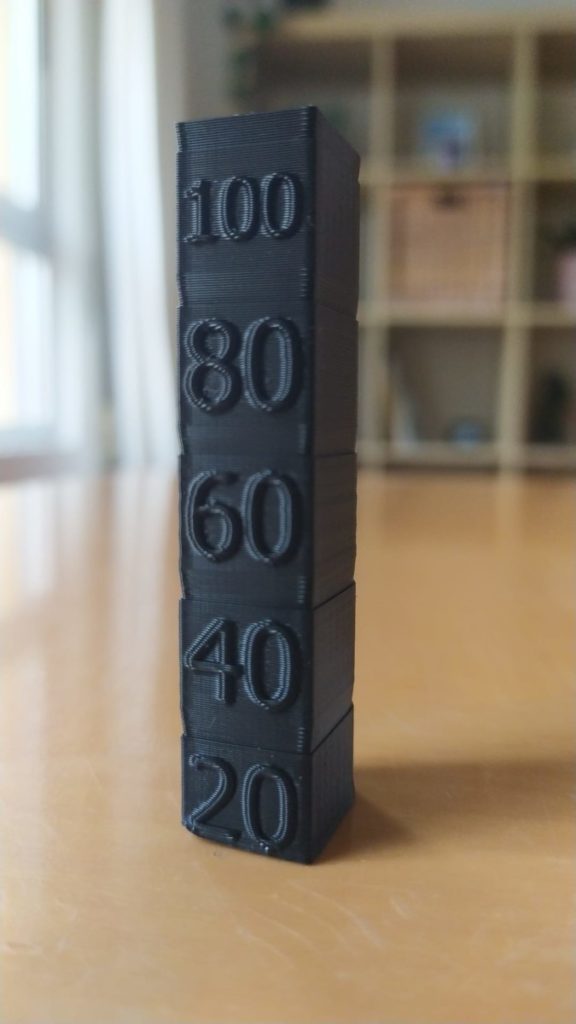
Printing speed controls how fast the nozzle moves across the build plate while printing. Usually, slow printing speeds produce better quality results as high speeds can lead to ringing and under-extrusion issues. To find out the best print speed settings for your machine download this Speed Test Tower.
In the link, you will find all the instructions on how to set up the Speed Test Tower print. Basically, this test increases print speed as the tower moves up so you can see the difference in print quality at a certain speed and figure out the best setting for your 3D printer.
Retraction Speed
Retraction speed determines how fast the printer retracts the filament through the nozzle while changing the printing position. This is done to avoid filament leaks. If the retraction speed is set too low, you will see stringing and blobs on your models. On the other hand, if the retraction speed is set too high the drive gears that feed the filament might damage the filament and mess with the feed flow.
To find out the proper retraction speed settings for your printer download this Retraction Test. Print a few tests, starting with a retraction speed of 25mm/s, and increase it by 5mm/s as long as you see good results. The speed that yields the cleanest result should be your optimal retraction speed.
Travel Speed
Travel speed is the speed at which the nozzle moves while it is not extruding the filament. If the travel speed is set too high the printhead movements can generate some serious vibrations which lead to ringing or even layer shifting issues.
To get the optimal travel speed settings for your printer download this Test (the same model used to test retraction speed). For the first print, use 100mm/s travel speed and if the surface looks good you can repeat the print increasing travel speed by 5mm/s. You can repeat the process until you see defects on the surface.
Print Speed and Print Duration
High printing speeds can drastically decrease the print duration. Using Cura’s Draft profile, I sliced a Benchy using different printing speeds to see how much the printing duration decreases. These are the results:
| Print Speed | Print Duration |
| 20mm/s | 164m |
| 30mm/s | 114m |
| 40mm/s | 90m |
| 50mm/s | 76m |
| 60mm/s | 66m |
| 70mm/s | 60m |
| 80mm/s | 55m |
| 100mm/s | 49m |
| 120mm/s | 45m |
| 140mm/s | 42m |
As you can see, the first speed increments are the ones that have a higher impact on reducing print duration. This happens because depending on the overall shape and size of the printed object the extruder might not be able to reach these higher speeds.
Problems that arise when printing too fast
Weak Layer Adhesion
Even if the 3D printer can handle a high print speed the filament still needs time to properly bond. As the filament is laid down, it needs to stick to the print bed and fuse with the other layers to maintain the desired shape. If the printer is going too fast, the filament does not have the time to create a strong bond resulting in weak layer adhesion.
Layer Shifting
When printing at a high speed there is a chance the X, Y, Z axis motors fail due to the excess stress and misplace a layer. This happens because the motors are being forced to move at a higher speed than they can handle. Layer shifting can happen gradually or as one big displacement.
Weak Infill, Under-Extrusion
If we are printing too fast the extruder might not be able to keep up and end up extruding less filament than the software thinks it is extruding. This under-extrusion usually produces a weak infill and thus weakens the overall 3D-printed object structure as it can easily break. We can identify this issue if we see the layers are too thin and the infill is stringy.
Ringing
When the printer is moving too fast and needs to make a sudden change in direction, like in a sharp corner, the inertia of the extruder can cause a considerable amount of vibrations which cause the ringing. Ringing is a visible defect of an unwanted pattern of lines on the surface of the 3D-printed object.
Bridging
High printing speed can decrease bridging quality. Whenever a print needs to connect two columns with a suspended filament extrusion (bridging), the filament needs time to stick to the previous layer. If the extruder is moving too fast the filament will not be able to adhere in time to bridge a gap.
Other ways of achieving faster Print Times
Use a Larger Nozzle
With a large diameter nozzle, you sacrifice detail quality in exchange for decreasing print duration as a larger nozzle allows more filament to be extruded at once.
Print with a thicker layer height
The thicker the layer height of your 3D printed object is the fewer layers need to be printed to finish your print. The downside to thicker layer heights is the loss of resolution in your model.
Lower the Infill percentage and the number of shells
Lowering infill percentage and the number of shells reduces the overall strength of a 3D printed object. As we decrease these settings the amount of extruded material is reduced thus we get faster print times.
Does Filament type affect the Print Speed?
The type of filament used for printing plays an important role in print speed. The physical and chemical properties vary for every kind of filament and thus the recommended print speeds for each one of them.
These are good printing speeds for some of the most commonly used filaments:
| Filament | Speed |
| ASA | 20 / 50mm/s |
| ABS | 40 / 80mm/s |
| PETG | 40 / 90mm/s |
| PLA | 30 / 90mm/s |
| NYLON | 40 / 60mm/s |
| HIPS | 25 / 55mm/s |
| TPU | 10 / 30mm/s |
Keep in mind that you should always check your filament spool for the best speed settings as these settings may change depending on the manufacturer.
How fast can a 3D printer print?
As I said previously, the maximum speed that a 3D printer can achieve depends on the quality of its components. For most common consumer-grade FDM printers the average print speed is around 40mm/s to 80mm/s while some better ones are able to achieve 100mm/s to 150mm/s.
I would like to make a special mention of the VORON project. This is a non-commercial project which handles users the opportunity to build their own printer. The plans are free open-source and these wonderfully engineered machines can achieve impressive print speeds. The build documentation is great and you can download the assembly manual from their website.
Ender 3 (Pro and V2) Speed settings
Since the Ender 3 is such a popular printer I decided to run a couple speed tests as well as some benchys and calibration cubes at different speeds on it to find out how fast I could print reliably without compromising on quality too much.
Here’s how to the prints turned out (my phone’s camera isn’t the best at detecting ringing and ghosting, so you may have to take my word as far as which one turned out better):
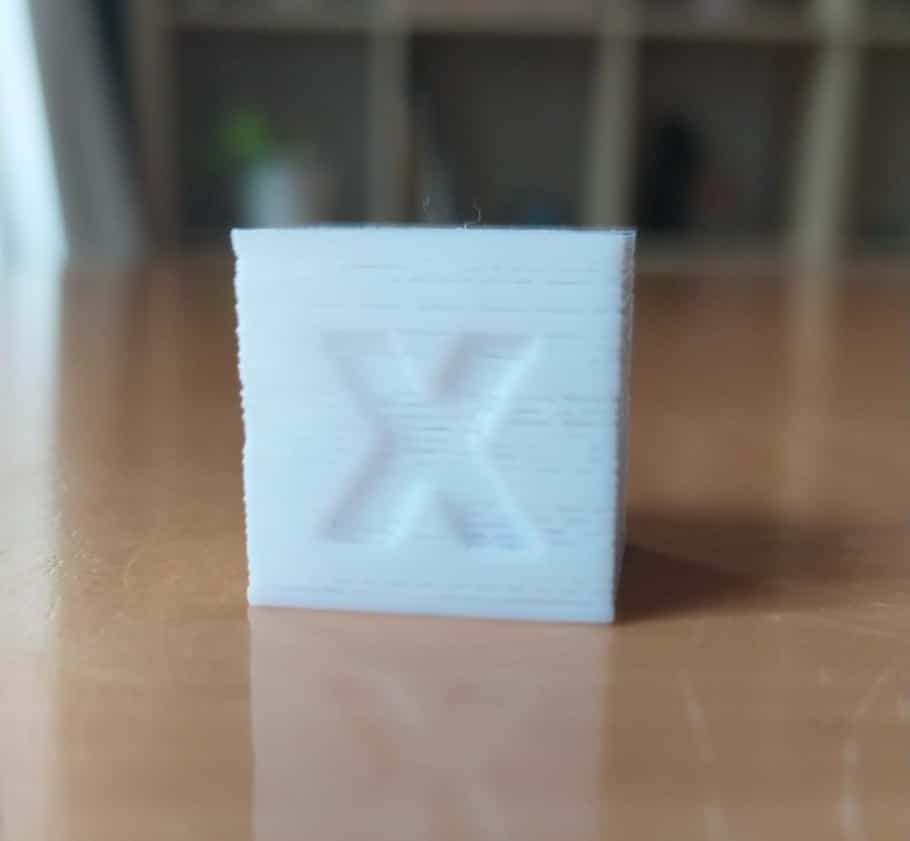
Speed test:
While it may not be as obvious in the image, at 200mm/s there was absolutely no ghosting going on and 40mm/s was very similar. However, from 60mm/s onwards you can clearly see more ghosting.
When looking at the same print from the sides, the height where it was printed at 20mm/s and 40mm/s is a bit smoother than all the other parts as well.
Benchy test:
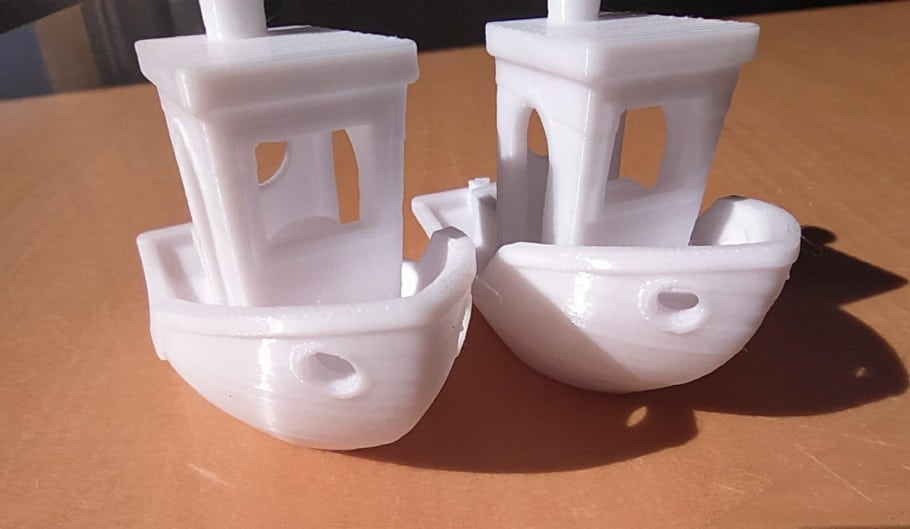
While it may not be very apparent on this image, the Benchy printed at 90mm/s had a bit more ghosting present and some small bulging layer lines, but the difference wasn’t as noticeable as I expected.
Check out our recommended products section

We created a recommended products section that will allow you to remove the guesswork and reduce the time spent researching what printer, filament, or upgrades to get, since we know that this can be a very daunting task and which generally leads to a lot of confusion.
We have selected just a handful of 3D printers that we consider to be good for beginners as well as intermediates, and even experts, making the decision easier, and the filaments, as well as the upgrades listed, were all tested by us and carefully selected, so you know that whichever one you choose will work as intended.
Error processing API data.