Have you ever wondered if using different infill patterns as well as infill densities in the same print is possible? Well, yes it is, and in this article I’m going to explain in-depth how to do it.
I will also explain what the Infill is, what the different infill patterns are, as well as give you a brief overview of infill density and when to use a specific percentage.
If you want to skip straight to the guide on how to print models with multiple Infill densities and patterns, then you can do so by clicking on this link.
So, without any further ado, let’s get started!
What is Infill?
Infill is a measure of how dense the object is, i.e. how much material has been used to print its internal structure. You can also determine the shape or pattern of the internal structure in the Slicer (infill pattern), and selecting the right infill settings at the time of slicing can optimize the strength, rigidity, weight, feel, appearance, cost and print time of the model.
There are two parameters of infill you should be concerned about: density and patterns.
What is Infill density?

The density of the infill defines how much material is going to be used on the inner structure of the print, which can go from 0% all the way up to 100%. The amount of filament to be used during printing is highly determined by the infill density (also called infill percentage). The printed object’s strength, rigidity, weight, buoyancy, cost and printing duration are all highly affected by the Infill density.
In CURA, the default infill percentage is usually 20%. However, you can adjust it to be anywhere between 0% to 100%. At 100%, the object will be completely solid from the inside and at 0% it will be completely hollow.
The weight, strength and print time of a part depend on the amount of material it has inside; The more “hollow” it is, the lighter, less rigid, more buoyant, cheaper, and quicker it will print, and vice versa.
One thing you may have not been aware of is that when you slice your model you can choose to have more or less infill density in specific areas of your print, sort of adapting the infill percentage in specific regions of the print to make it stronger where it needs to be, but without wasting material in other sections that don’t need it.
CURA, as well as most other slicers, allows you to have different infill densities, as well as patterns, within the same part. This technique is also known as variable infill density.
What Percentage should you use?
Of course, not all models require the same infill density, as well as the same pattern, and this will depend mostly on what the model you’re printing is going to be used for, since a miniature will require very different infill rates than a hook that needs to be able to hold a lot of weight.
Infill Density for Models and Miniature Figurines
Miniatures or models that aren’t meant to be handled very often, require a lower degree of strength and toughness. The strength of the outer layers (perimeter walls) is usually enough to support the weight of the whole object and prevent it from deformation. Therefore, the infill density can be low i.e. 5-15% as the prints aren’t meant to be able to withstand a lot of forces.
It’s also worth noting that 10-15% infill is already quite strong, even for parts that need to be more functional.
Standard 3D Prints
If you want to print 3D models strong enough to withstand a bit of weight and external pressure, try using a higher infill density of 15-50%. This percentage of infill is good at keeping the print time low while using a relatively low amount of material in order to provide strength.
Functional 3D Prints
When you’re creating a fully-functional print, make sure that it is strong enough to handle the forces it’s going to be subjected to. I generally recommend printing with about 50% infill in order to get a solid, high-quality print. It’s worth noting, however, that going over 50% infill density will yield significantly diminishing results, so it’s generally not worth doing.
Keep in mind that the infill density is just one additional factor that adds strength to a print. The pattern you decide to use also has major strength implications.
Different Infill Patterns

The shape inner structure of the 3D print is known as the infill pattern. Cura has 13 different infill patterns, all ranging from simple lines to more elaborate 2D and 3D complex shapes and structures. Some patterns are more efficient for accomplishing certain functions than others, and inefficient for accomplishing other functions. That’s why there are so many, so you can choose which might be better for you in each scenario or use case.
Here’s a brief summary of some of the different patterns you can choose to print:
Lines
The Lines infill pattern consists of lines moving either along the X- or Y-axis every other layer. While this infill pattern provides strength in two dimensions and is good for quick prints, it won’t stand up to heavy loads. The lines pattern uses minimal material and keeps the weight light.
Honeycomb
The structure of a honeycomb is one of the most used infill patterns because it’s capable of resisting forces from all directions. This infill pattern is appropriate for printing a moderately strong item at semi-fast speed and without consuming too much material.
Grid
On the surface, this pattern seems quite similar to the lines pattern. However, there is a significant difference. The lines pattern contains layers with only one-directional lines, on the other hand, the grid pattern contains layers with two-dimensional lines.
The grid infill pattern has only two-dimensional strength, and similar to the lines infill pattern, it should be used with parts that are going to be subjected to a very specific kind of stress.
Triangles
The triangles pattern consists of overlapping triangular lines that intersect in three places in the XY plane. The Triangular infill pattern is very strong two-dimensionally, but less so in the Z direction.
Tri-hexagon
The Tri-Hexagon infill pattern contains a collection of lines with three different orientations, and these orientations are in varying lengths which creates hexagonal patterns in between the triangles.
The Tri-Hexagon infill pattern provides strength in two dimensions and is pretty decent for strong, sturdy prints.
Cubic
The cubic infill pattern contains stacks of cubes that are tilted 45° in both the x- and y-axis, as a consequence, they appear like triangles when viewed from any single angle. Its three-dimensional structure outperforms two-dimensional structures for strength overall. However, it requires more material and time than others.
Octet
The octet infill pattern is a bit like the cubic infill, but with squares rather than triangles. Like the cubic infill pattern, it can help create an aesthetic appearance. The 3D infill pattern looks very beautiful and is also useful in high-strength applications.
Gyroid
The gyroid infill pattern is strange-looking, but if you like it, then it’s probably the coolest infill pattern. The surface is made up of lots of irregular curving lines so that over time the edges of these lines will eventually cross paths with other curves. It’s designed to provide an optimal balance between strength, print time, and material.
Concentric
The concentric infill pattern is a geometry of concentric lines that fill in the part’s shape. Like the rings of a tree. Each one gets smaller than the last, then they get bigger again as you move out from the centermost point. Because it’s quick to print and consumes less material, this pattern is good for prototyping.
How to use a different infill density in the same print
CURA allows you to have different infill densities within the same part. This technique is also known as variable infill density. Though it looks intimidating at first, it is fairly simple.
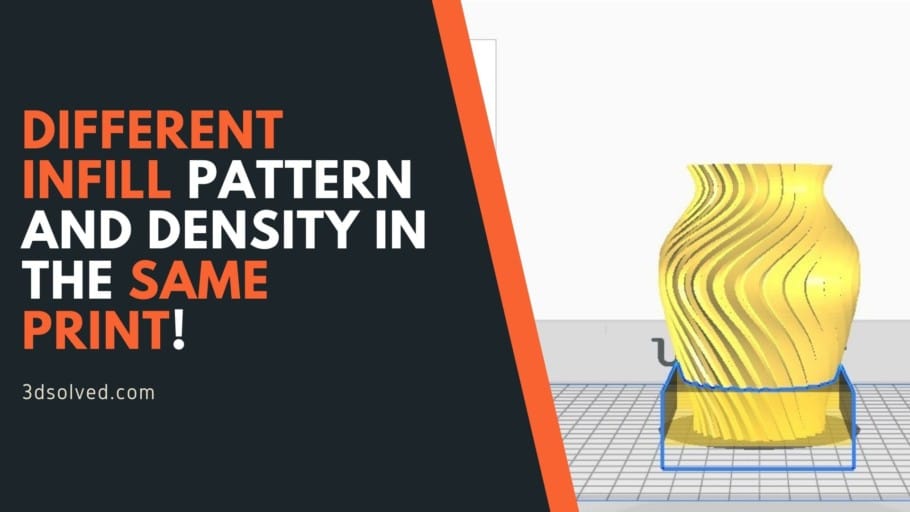
In the example below, I’m printing a 3D vase with a default infill density of only 20% but to be on the safe side, I want to print its base with 50% infill density. This will strengthen the base and also stabilize it by adding weight at the bottom.
- Select the model. It will enable the toolbar on the left side of the screen. Select “Support Blocker”. It will allow you to put a block on your model at the desired location which you can then scale. The section covered by the block will be the place where you can change the infill density.

- Select the block, then Click on “Scale”. Make sure to uncheck the “Uniform Scaling” option. This will allow you to expand the block independently along the X-axis, Y-axis and Z-axis. Expand and place it at the appropriate coordinates to cover the desired area completely.

- Select the block and then click on “Per Model Setting” on the left side of the screen. Choose “Modify Settings for Overlaps”, then click on “Select Settings”. Find and check “Infill Density”. Now on the left side, you will have the option to change the “Infill Density”. Enter your desired value and slice it.

Using a different infill pattern in the same print
Just like Cura allows you to change the infill density in specific sections of the print, you can also have different infill patterns within the same part. Using the same vase as before, I’m going to show you how to print it with the cubic infill pattern at the top, while the rest of it will have the default infill pattern.
Essentially, you need to follow the exact same steps as before, but this time you will need to change the “Infill Pattern” setting and not “Infill Density”.
- Select the model. It will enable the toolbar on the left side of the screen. Select “Support Blocker”. It will allow you to put a block on your model at the desired location. Click at the top of the vase to put a block there.

- Now you have to scale the block so that it completely covers the area where you intend to change the infill settings.
- Select the block, then Click on “Scale”. Make sure to uncheck the “Uniform Scaling” option. This will allow you to expand the block independently along the X-axis, Y-axis and Z-axis. Increase its size and place it at the appropriate coordinates to cover the desired area completely.

- Select the block and then click on “Per Model Setting” on the left side of the screen. Choose “Modify Settings for Overlap”, then click on “Select Settings”. A new tab will open where you will need to find and check “Infill Pattern”. Now on the left side, you will have the option to change the “Infill Pattern”. Change it to Cubic, or whatever pattern you want to use, and slice it.

It’s worth noting that if you print in vase mode, doing this won’t affect the print since there’s no infill being printed.
Can you have multiple infill patterns and densities across the entire print?
CURA gives you the liberty to have multiple infill patterns and densities across the entire print. You can achieve this by simply following the same steps I have mentioned in the previous two sections. Just create as many support blockers (those cubes that allow you to adjust the settings) as you need and adjust the print settings accordingly.
It’s not just limited to the infill patterns and densities, you can use this technique to tweak other settings as well such as print speed, temperature, wall count, wall thickness, top & bottom layers, infill overlap, supports, etc.
Essentially, once you learned the basics of your slicer, you can move on to more complex print settings, and using variable infill density and patterns is definitely a bit harder to set up, but it’s definitely worth learning.
Check out our recommended products section

We created a recommended products section that will allow you to remove the guesswork and reduce the time spent researching what printer, filament, or upgrades to get, since we know that this can be a very daunting task and which generally leads to a lot of confusion.
We have selected just a handful of 3D printers that we consider to be good for beginners as well as intermediates, and even experts, making the decision easier, and the filaments, as well as the upgrades listed, were all tested by us and carefully selected, so you know that whichever one you choose will work as intended.
Error processing API data.