If you’ve been 3d printing for a while, you are surely used to dealing with imperfections in your models. As time goes by, you also developed a 6th sense that tells you what the probable causes of the issue are, and how to solve it. If you are still in the process of developing your troubleshooting superpowers, this article is taylor made for you!
In this article, I will go through the most common issues and probable solutions for dealing with ripples in the first layer of a print. You are welcome to read along and go into further details, but here are the main key points:
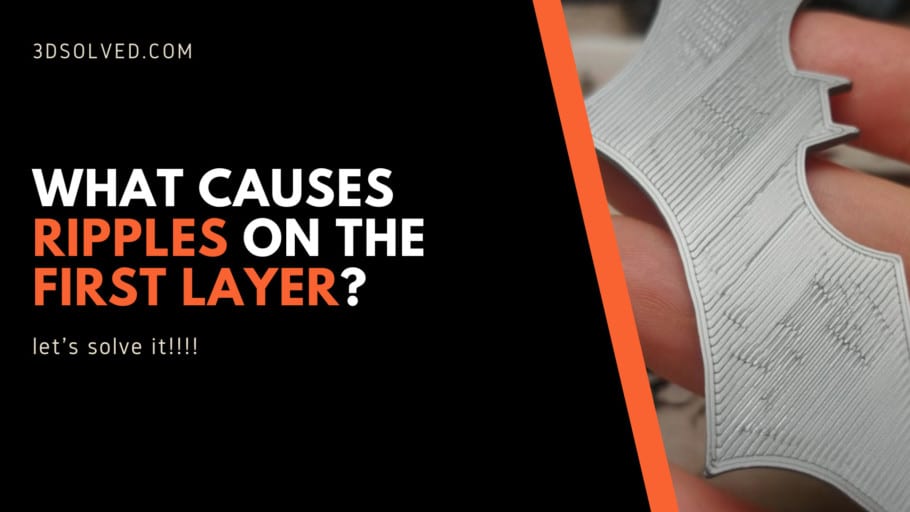
Ripples on the first layer of a print are usually caused by improper first layer height or flow, the nozzle being too close to the printing bed, an uneven (and thus improper) bed leveling, too high of a printing speed, or leaving the layer fan on during the first layers.
The issue is usually solved by properly leveling the bed, reducing the movement speed during the first layers, correctly setting the line width, and changing the initial layer height. Additionally, you can install an automated bed leveling sensor or doing a mesh leveling routine.
Common causes of ripples on the first layer

I’ll get through each and one of the most common causes. Most probably, at least one of these items is causing your printer to have ripples on the first layer. Luckily for you, most of the causes are rather easy and straightforward to implement
Printer bed problems
If you want a perfect first layer, you need to properly set your print bed. This means making sure that it is as evenly leveled as possible. Also, the print bed needs to be flat, any imperfections will likely cause issues in the first layers. This may seem like a strange and improbable issue at first glance, but it is quite common for flexible buildplates to warp as time goes by. If you have a glass bed, it is very unlikely to have this problem.
Additionally, before you start a new print clean the buildplate. If there is any filament or adhesive leftovers from previous prints in the printbed, the newly extruded filament won’t stick as it should.
First layer height and flow rate
Layer height and flow rate need to be correctly set for the first layer. If your filament flow rate is too high for the first layer, you will experience over-extrusion, which will almost surely cause those undesired ripples.
You can either decrease the initial flow rate or increase the first layer height. Increasing the first layer height will most probably decrease the visibility of errors in the calibration. Also, if you are about to print a model with a small layer height (say, 0.08mm), it is also recommended to increase the initial layer height in order to improve the layer adhesion to the print surface.
Nozzle to close to build plate (Z offset)
If the distance between the nozzle and the print surface is too big, the filament won’t stick properly. Conversely, if it’s too close the filament will be smeared over the print bed, producing ripples as the nozzle travels because of the lack of space.
As a rule of thumb use ¼ of your nozzle diameter as the nozzle height. For example, set a 0.1mm nozzle height for a 0.4mm diameter nozzle. As a rule of thumb, you can use a sheet of A4 paper and slide it between de nozzle and the buildplate. It should be able to move between the print bed and the nozzle with a little drag.
Printing speed
Usually, the movement speed for the first layer should be reduced in order to allow for the filament to properly stick to the print bed. Most slicers automatically calculate the initial layer movement speed as a function of the overall printing speed. In order to stay on the safe side, you can set the initial layer speed at 50% of the overall movement speed.
Cooling
Make sure that the fans are off during the first layer. We want the filament to slowly cool off in order to give it more time to adhere to the print bed reducing the chances of coming off.
This behavior is usually the default “factory” setting of all slicers. If you tinkered with the settings, it is not a bad idea to reset the settings and start over with a clean slate. A hidden parameter that you forgot existed could be causing the problem.
Recommended setting for solving ripples
Due to the nature of our problem at hand, only parameters related to the first layer are going to have a direct impact on our probability of solving the issue. Although you will almost definitely fix the issue by trial and error, here is a list of the main parameters that you should be aware of!
- First layer height: It is common practice to set the initial layer at around 90% of the remaining layers of the print. In cases where the layer height is low (in order to achieve finer details), you should consider increasing the first layer height to reduce the probability of detachment from the buildplate.
- First layer width: for best results, the layer width should always equal the diameter of the nozzle. In most cases, unless you changed your nozzle, the default is 0.4mm. If you are facing over or under extrusion, change the flow rate instead of this setting. The flow rate won’t alter the travel path of the nozzle, whereas changing the layer width will.
- First layer speed: set the initial layer speed at 50% of the overall movement speed. This will also lead to better adhesion.
- First layer fan speed: Turn of the cooling fan for the initial layers. When printing the first layer, you will want to avoid cooling the filament too fast, since it would lead to poor layer adhesion (among other issues). In addition to being a probable cause of ripples, a working layer fan on the initial layers can also lead to warping.
How to prevent ripples in the initial layer
Now that we have gone through the most probable solutions for ripples, we may also be interested in quickly going through some measures that we can implement in order to avoid them in the future. Both recommendations are related to bed leveling: adding an automated bed leveling sensor, or doing a manual mesh bed leveling.
Adding an automatic bed leveling sensor

If your printer doesn’t come with one already, you can add an automatic bed leveling sensor to help you prevent problems associated with imperfections in the print bed.
When you go through the leveling routine, the sensor will measure the distance between the nozzle and the print bed at different places and then use this information to adequately position the nozzle as it moves along the buildplate while printing.
So, even if your print bed isn’t perfectly leveled, your printer will make adjustments to keep the nozzle at an optimal distance throughout the print. There are many different types of sensors, we recommend using a mechanical one, they are the most versatile as they work well with all types of surfaces and weather conditions.
I should also mention that in addition to mechanical sensors, there are also capacitive, inductive and physical-hall effect sensors, but further describing them is clearly out of the scope of this current article!
However, we have an entire article on this site dedicated to Bed Leveling sensors that you should absolutely check out if you’re interested in learning more about them.
Manual mesh bed leveling (Marlin firmware)

Mesh bed leveling is another option to deal with imperfections in the print bed. This leveling process creates a mesh model of your print bed and then adjusts the nozzle height while printing to compensate for imperfections in the print bed. To implement this method you will need to do a little bit of firmware configuration. It may seem a little bit daunting at first glance, but you’ll notice that it is as easy as following along a recipee.
How to enable mesh bed leveling
To get started you will need to get a copy of the current Marlin Firmware that your printer is using. You should also install the Arduino IDE in order to modify the firmware code.
Assuming you have both the firmware and the Arduino IDE installed, open the configuration.h file and uncomment (delete the double slashes at the start of the line) “MESH_BED_LEVELING”, “RESTORE_LEVELING_AFTER_G28” and “LCD_BED_LEVELING”. By doing this, we are turning those lines into active code.
Having done this, you just need to upload the new Marlin Firmware file to your board. After doing so, and using your printer’s LCD display, select “Level bed” under “Bed leveling”. Select “click to begin” when the option becomes available. Each click will move the nozzle to a new location and each time you will need to adjust its height so that a sheet of paper can move between the nozzle and the print bed with a little drag.
Finally, scroll down and click on “Store Settings”. Now that we have mesh bed leveling set up, try with a test print and see how it goes. If the nozzle is consistently too close or high you can use the “Bed Z” option to adjust the height rather than to do the whole process again.
Check out our recommended products section

We created a recommended products section that will allow you to remove the guesswork and reduce the time spent researching what printer, filament, or upgrades to get, since we know that this can be a very daunting task and which generally leads to a lot of confusion.
We have selected just a handful of 3D printers that we consider to be good for beginners as well as intermediates, and even experts, making the decision easier, and the filaments, as well as the upgrades listed, were all tested by us and carefully selected, so you know that whichever one you choose will work as intended.
Error processing API data.