When getting started in 3d printing, you will be overwhelmed with the number of parameters that your Slicer has to offer. Some of them are of course more important than others. There is no way around knowing how to fine-tune the extruder temperature, movement speed, heated bed temperature, among tens of settings.
After you nailed your settings, you may be surprised that the output quality of your prints starts to deteriorate in subsequent prints, even when you are printing the same model. This may be caused by various reasons, but an unleveled bed stands out as a probable problem that is also easy to fix. How often should you level your 3D printer?
You can get away with leveling the bed every 5-10 prints depending on how stable the bed is and how careful you are when removing the finished prints from the surface. In order to stay on the safe side, it is advisable to level the bed before a large print (15 hours or longer) to ensure that it doesn’t fail mid-print. Additionally, it is advisable to re-level the bed every time you change the bed or nozzle temperature.
What is the importance of leveling a bed?
A leveled print bed is essential for successful printing. The bed surface has to be leveled and have a consistent Z-Axis distance with the nozzle to ensure consistent printing quality. If not, print failure is a certainty.
Irrespective of what filament you are using, your print will be affected by whether your bed is level or not. The other two factors that play an important part in print success are the first layer thickness and Z offset.
The distance between the filament extrusion nozzle and the print bed has to be consistent for proper layer adhesion. Fortunately, all modern 3D printers have some kind of leveling routine, and some even have an auto-leveling feature.
Printers with bed-level sensors only need their Z-depth recalibrated. The sensors will measure the bed level and make corrections before each print. Having these sensors also allow for correcting uneven printing beds, since you can create a level mesh that will adjust the first layer by raising and lowering the nozzle.
Signs that you need to level the print bed
The more you immerse yourself into 3D printing, the more challenges you will be faced with. You may notice inconsistencies in your prints that will have you pulling out your hair in frustration. We all go through 3D teething troubles, and in the process, we learn what to look out for. Here are a few issues that point to a poorly leveled print bed:
Nozzle too close to the bed
Melted filament extruded from the nozzle must be visible from the very first pass of the printer head. If you notice that this only happens from the third or fourth pass, chances are, the nozzle is too close to the printer bed. This is possibly caused by incorrect calibrations caused by poor bed leveling.
It is common knowledge that no print bed is ever 100% level. They all seem to have high or low spots that are hardly noticeable in the beginning. But through use and temperature changes, the print bed will become more uneven.
If the nozzle is too close to the print bed, the melted filament may not be able to be extruded. Even if it does extrude, the Z-offset will not be at the optimum level, and problems will follow. The nozzle will literally squish the heated filament onto the print bed and will deform the print. To remedy this situation, you will have to increase the distance between the nozzle and the printing surface.
A general way to check the Z-offset is by using a standard piece of A4 paper. Simply slide it between the print bed and the nozzle, and it should pass through without getting stuck. Once you have established that the nozzle is too close to the print bed, you need to make adjustments. The adjustments need to be made in very small increments until you reach the desired Z-offset.
The first layer will almost always tell you if your build plate is correctly leveled. Take a look at the following picture and use it as a reference for leveling your printer with the paper technique.
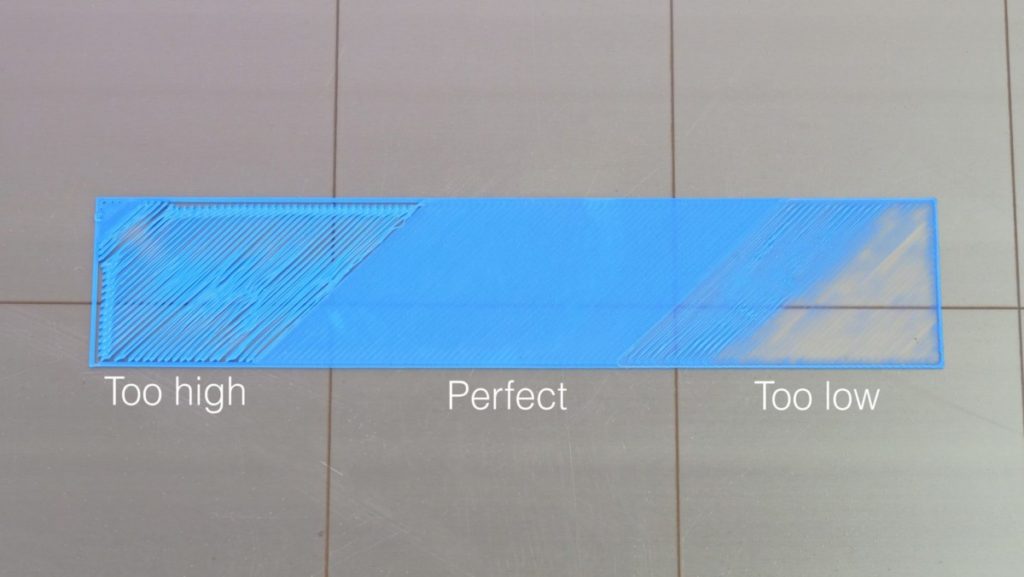
- Nozzle too high: the problem can be identified when the filament is not properly adhered to the surface. Instead of printing a consistent layer of plastic, the first layer will look like strings of plastic.
- Nozzle too low: although the plastic is properly adhered to the printing surface, the insufficiente distance between the nozzle and the bed don’t allow the machine from releasing the sufficient amount of plastic.
Whether the problem is a close or distant nozzle, you should also check if the problem is uniform along both the X and Y-axis. If it is uneven, you should only recalibrate on the corners that are too low or high.
Bad bed adhesion
Bad adhesion of melted filament to the build plate can be attributed to a poorly leveled bed. The nozzle should be close enough to the build plate to freely extrude the molten filament. But, if the Z-offset is not consistent, areas of the first layer will not stick to the build plate.
It is vital to have the first layer uniformly stick to the build plate. Where the nozzle is too far away from the build plate, there will be a weakened adhesive effect. You can use the “Bed adhesion torture test” to confirm your suspicions. Another reason for poor adhesion to the build plate is using a contaminated build plate that needs cleaning.
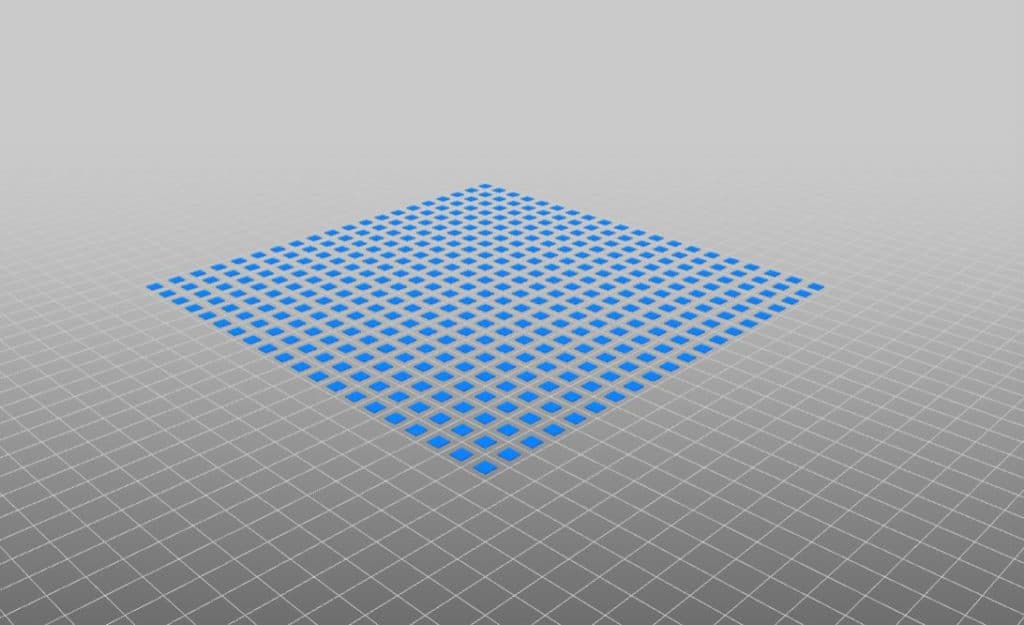
To have a successful first layer, you need to strike a balance between adhesion and ease of removal. This means working with a level bed and ensuring that the melted filament and bed temperature is correct. If you have a glass bed, you can also use adhesives like hairspray or a glue stick to keep your first layer in place.
Filament Height and Width can vary during the print
Extrusion may not always be consistent during printing for a number of reasons. Firstly, you need to check that the filament feeding into your printer is not tangled and causing resistance. Secondly, the nozzle may have begun clogging up and needs to be cleaned.
Each extruder has its own specific extrusion width, so when checking the width, select the extruder currently on your printer. As a general rule, the extrusion width should be exactly 100% of the nozzle diameter (0.4mm is the most popular size). If the width is below the nozzle diameter, it will result in an inconsistent flow. Because extrusion is consistent, the shorter a vertical layer is, the thicker the horizontal line will be and vice versa.
An uneven bed will result in an uneven first layer where you will get differences in the width and height from the extruded plastic. This uneven first layer will be replicated into the print’s early stages and may result in print failure.
Warping
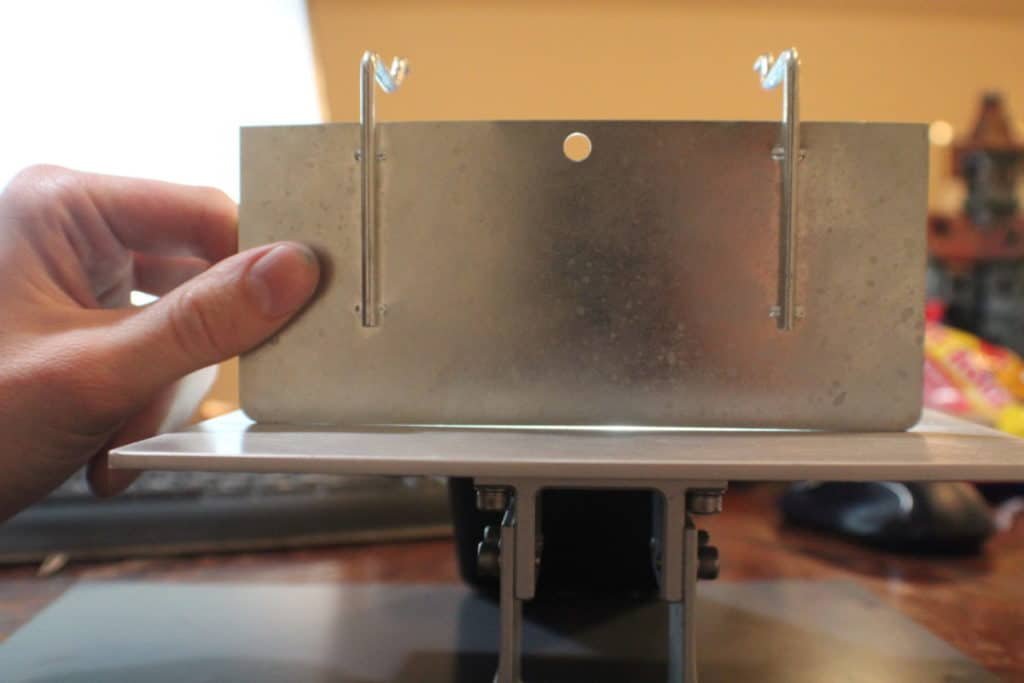
Printer beds go through a heating and cooling process that may eventually cause warping but t’s a slow process. At some point, you will begin to notice the quality of your print starts to deteriorate.
As an immediate quick-fix, you can use a glass sheet on top of your bed to regain that even surface. This will not only solve the issue but also change the looks of your bottom layer. In my humble opinion, the aesthetic change is for the better.
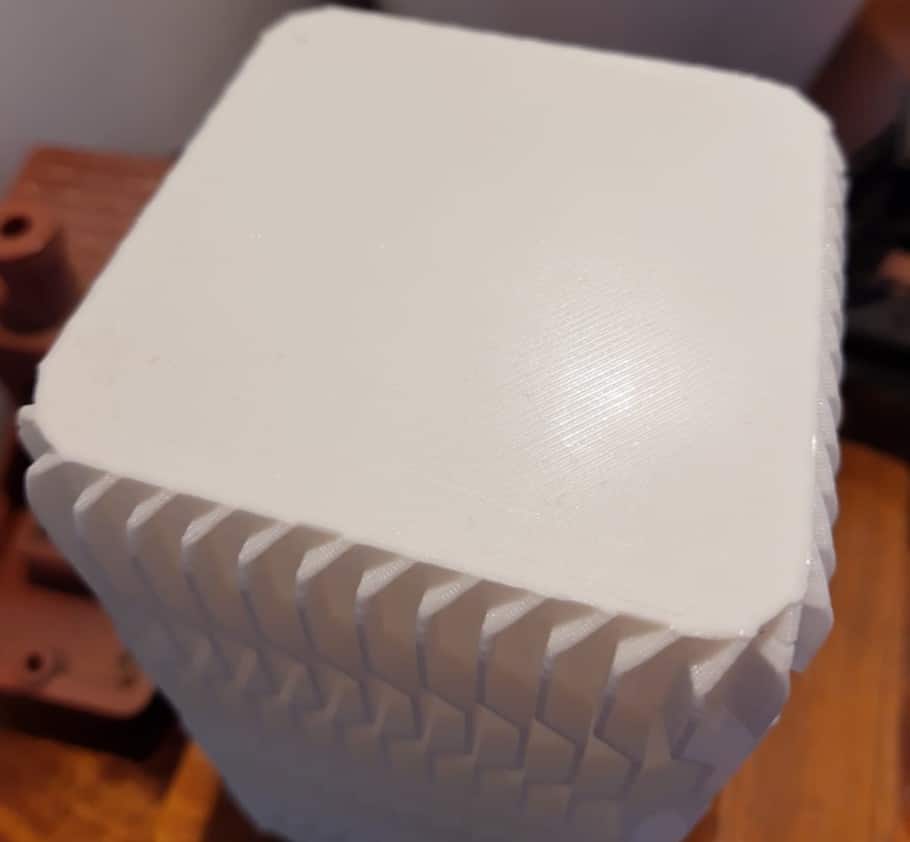
Needless to say, but if your bed is badly warped, it’s best to have it replaced. Adding a glass sheet on top of the bed will influence temperature and build height, so make sure to recalibrate the nozzle distance before printing again.
An uneven bed will create printing complications regardless of what you do. You could try adding a raft to your design. This acts as a foundation for your print project but will have to be removed in the post-printing phase, in addition to consuming more material and taking more time to complete.
Can a badly leveled bed damage the 3D printer?
A badly leveled bed can certainly cause damage to your printer. The first layer is the most critical for obvious reasons. Without a level surface to work on, there is a possibility for the nozzle to run aground on the build surface. It may seem inconsequential, but every scrape or bump will lead to a damaged nozzle.
Besides the nozzle scrapping on the build surface, it prevents the extrusion of plastic. It will also churn debris into the nozzle and may cause a partial blockage, influencing the extrusion flow.
Besides the fact that you will be subjecting your printer head or nozzle to beating, your print will also be doomed to failure. Aside from that, the remaining parts of the printer should not be affected by an uneven bed level.
Changing the filament may require you to level the bed again
When changing filament types that require different temperature settings, it is best to check and level your bed before printing. The temperature differences may influence bed expansion and contraction, resulting in an uneven build surface. Additionally, a different bed temperature setting, for example from 50C to 100C when switching from PLA to ABS, may also expand the volume of the printed itself, requiring you to increase the distance to the nozzle again.
In a nutshell, a change from PLA to ABS or any other filament type will alter the dynamics of the build plate. For effective leveling, you should heat the bed to the temperature requirement of the filament you’re going to be printing with (90 degrees for ABS) before you check and adjust the bed position.
How to level the bed and adjust the Nozzle gap
From time to time, you will have to check and adjust the bed’s level and adjust the Z-offset. Below is a brief overview of the process that will give you an idea of what it entails.
Prepare the bed
To begin, wipe the nozzle clean with a soft cotton cloth. If you notice any hardened plastic around the nozzle, heat it up to the last filament temperature used. Once the plastic has softened or melted, wipe it off the nozzle. You may need to use a hard brush but work gently to avoid damage.
The bed must also be cleaned and free of plastic that has stuck to it. For a glass bed, use a sharp blade to scrape it off. Now remove the bed and wash it with warm soapy water. If the bed cannot be removed, you can use isopropyl alcohol to clean it on the printer.
You can also clean it with a sponge and hot water in the sink. If you are clumsy like me, you may risk breaking the glass during the process, so it is always a good idea to have a spare one.
Before you begin leveling the bed, heat it up to the bed temperature of the filament you will be printing with next.
How to Level the Bed
To manually level the bed, follow these easy steps:
- Turn all the screws of the bed (normally 4 screws) a few times to increase the gap between the bed and nozzle.
- You will now move the nozzle close to the build plate. You can do this manually or use the software controls and set your printer to “auto home”. This parte depends on your printer model.
- You will now adjust all four corners of the bed as well as the center using an index card cut out from a standard A4 piece of paper. Begin in one corner and slide the index card between the nozzle and the bed. Turn the screw closest to the nozzle to close the gap until you feel a slight resistance. Repeat this process with the remaining three corners and the middle. Once complete, double-check all the spots again to make sure the resistance is still the same. If not, repeat the process until the bed is level.
- You will now have to verify the leveling by running a single-layer test. If the layer is consistent throughout, then the bed is level. If not, you will have to recheck the level.
Check out our recommended products section

We created a recommended products section that will allow you to remove the guesswork and reduce the time spent researching what printer, filament, or upgrades to get, since we know that this can be a very daunting task and which generally leads to a lot of confusion.
We have selected just a handful of 3D printers that we consider to be good for beginners as well as intermediates, and even experts, making the decision easier, and the filaments, as well as the upgrades listed, were all tested by us and carefully selected, so you know that whichever one you choose will work as intended.
Error processing API data.
