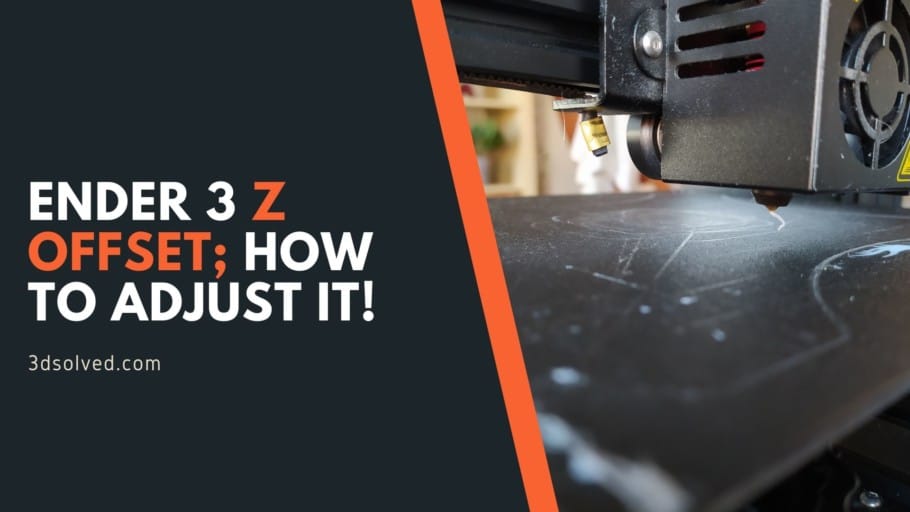
If you want to learn what the Z Offset is, how to adjust it, and why you may need to do it, then you’re at the right place!
I will be covering four different ways to calibrate the Z offset (Manual, on the Firmware, on the Slicer, and using G-Code).
So, without any further ado, let’s get started!
If you don’t want to have to go through all the trial and error that we did in order to find the Ideal Settings for creating high-quality prints on your Ender 3, then definitely check out our own Cura Profiles tailored specifically for the Ender 3 Printer Series.
- What is a Z Offset?
- Before doing anything, Heat the bed
- Manual Calibration
- Calibrate directly from the Ender 3 display (Firmware)
- Calibrate using the Slicer
- Calibrate using G-Code
- Bonus: Print an adjustable Z endstop
- Recommendation: Install an Auto Bed Leveling sensor (BLTouch)
- Conclusion
- Check out our recommended products section
What is a Z Offset?
Z offset is the distance between the hot end and the Z home position on 3D printers. The most common reasons for adjusting the Z offset are to allow for the addition of a glass or thick bed material, and to fine tune the first layer for the best printing quality possible.
Why adjust the Z Offset?

Like with any good 3D printed part, it all starts with the first layer; Get that one right and your print will more than likely come out looking great, get it wrong and it might detach from the build plate and create loads of issues.
There are many reasons to calibrate the Z offset on an Ender 3, such as leveling the bed properly, adding a glass sheet to the bed, printing more complicated models, and even printing on top of another object.
If, for instance, you want to print on a glass sheet, you will more than likely have to adjust the offset since the thickness of the glass may not allow you to lower the bed enough to where you can get the nozzle to be at the right distance from it, and it will end up digging into the glass.
Let’s go over how to calibrate the Z offset in four different ways, two of which are not just the most effective ones, but also the easiest.
Before doing anything, Heat the bed
When materials increase in temperature they expand, and this is exactly what happens to the bed when you head it up, which means that if you calibrate the Z offset, or if you level the bed while it’s cold, as soon as it heats up for printing it will expand and move closer to the nozzle, which will mess with your settings.
Manual Calibration
The Ender 3 (Pro and V2 as well) comes with a Limit Switch that is strategically placed along each axis, and they’re used to prevent the machine from overextending and causing damage to the print bed and other components.
The Limit Switch might be slightly too high or too low, so some adjustment may be needed.
Here’s how to do it:
- Disconnect the printer from the power outlet.
- Start by loosening up the bed leveling knobs about halfway, don’t loosen them up too much.

- Using the included Allen key, loosen the two screws on the Limit Switch Plate.
- Slide the Limit Switch up or down depending on what you need. (If you need to lower it, you may need to cut off the little plastic Stopping mechanism).
- Once the Limit Switch is at the desired height, tighten the screws.

- Rotate the Z rod until you hear the Limit Switch click. If the nozzle reaches the bed before this, raise the Limit switch more.

- Lastly, level the bed.
Manually calibrating the Z Offset is something I’d recommend everyone to do on their Ender 3, but not just if you plan on printing on a Glass bed which would require you to move the Limit Switch up a notch, but also to make sure that you adjust set the limit switch in such a way that the springs under the bed aren’t extremely tight, leaving you with no room to lower the bed, or too loose.
Calibrate directly from the Ender 3 display (Firmware)
Calibrating the Z offset directly from the firmware is the best and easiest way to do it since the settings will be saved directly to the printer, which means that you do it once and you’re done, and this also allows you to do it more precisely and to fine tune as needed.
Important Note: Preheat both the bed and the nozzle before doing this (Go to the “Prepare” settings, scroll down to “Preheat PLA” and then give it some time until the desired temperatures have been reached.
- Disable the Stepper motors on the firmware.
- Slide the print head to the center of the bed.

- Put a piece of paper (A4 or Post-it note without folding it) under the print head.
- Go to “Prepare”, then “Move Axis” and select the Z axis and select 1mm.

- Scroll the wheel left to lower the print head until it touches the paper (The paper should be able to slide around, but there should be some grip on it from the nozzle).
- Go back to the previous menu and this time select 0.1mm and adjust the nozzle slightly until there is barely friction between the nozzle and the piece of paper (the total number you get, E.g., -2.13mm, will be your offset).
- Go back to the main menu and select “Control” and then “Z Offset” and enter that number.
- Lastly, go to the Main Menu and then Store the Settings.
Once you’re done with these steps press on “Auto Home” and then start a print.
Now you need to evaluate if more adjusting is needed; If the filament is not sticking well to the bed, then go back to the offset settings and lower the nozzle height slightly, and do the opposite if the nozzle is digging into the bed.
Calibrate using the Slicer
Most slicers come with a built-in Z Offset feature, but for this specific article I’m going to be covering how to do it in Cura. It’s worth noting that you need to install the Z Offset plugin if you want to be able to do this.
How to adjust the Z offset in Cura

- Click on “Marketplace”, scroll all the way down and install the “Z Offset Settings” Plugin, then restart Cura.

- Under the Build Plate Adhesion section of the print settings, you will find the “Z Offset” option.
- Put in the number you want for your Z offset.
While this may seem like the easiest way to go about it, it’s worth noting that getting the exact number will be quite hard and this will require starting multiple prints and wasting filament until you get it right, and this doesn’t not only apply to Cura, but any Slicer with the Z Offset feature.
This is why I’d recommend following the two first steps since they are the easiest and most effective ones.
And last but not least…
Calibrate using G-Code

You can send G-code commands using a G-code terminal (Prontoface, for example) to adjust the Z offset.
While this is definitely a valid method, it’s not recommended for beginners since you’ll need to have some G-Code knowledge, plus it’s not more beneficial than using the Slicer method I just described.
First you need to home the printer, and this is done using the following code:
- Homing printhead command: G28 Z0;
To set a manual offset, you can use the set position command:
- Set position command: G92 Z0.1; (In this case, the printer has set the current position (home position) to be Z = 0.1 mm, creating a -0.1-mm offset).
To raise the nozzle to print on a surface, you’ll want to use negative values for the Z Offset, since this will shift the head upwards.
While it’s definitely doable, I’d only recommend this to experienced users.
Bonus: Print an adjustable Z endstop

With this printable upgrade you can easily adjust the Z offset of your Ender 3 by simply turning the knob to raise or lower it.
However, it’s worth noting that you will need to purchase some additional parts in order to make it work.
Required Parts: 2x M3 nuts, 1x M3x25mm or longer bolt, and 1 spring like the same bed springs that I will be listing in the next section.
To install it, simply remove the old limit switch and use the same screws and nuts to install this one.
Recommendation: Install an Auto Bed Leveling sensor (BLTouch)

The BLTouch is a mechanical bed leveling sensor that can be installed on your Ender 3 and that makes the whole bed leveling process a lot simpler since you’ll never have to manually do it again. It uses a plastic probe to take measurements across the entire build surface before each print to determine the optimal first layer height.
Note: The Installation of the BLTouch isn’t as simple as it may seem since you may need to install a pin 27 board, update the firmware, and more. Still, probably the best upgrade you can get for your Ender 3.
You can get here: Amazon, Banggood, Creality Website.
If you don’t want to have to go through all the trial and error that we did in order to find the Ideal Settings for creating high-quality prints on your Ender 3, then definitely check out our own Cura Profiles tailored specifically for the Ender 3 Printer Series.
Conclusion
Using a Z offset will allow you to get better adhesion on the first layers, print on a thicker bed, print on top of another object, and even level the bed properly.
All of the ways of doing it are valid, but I’d recommend you to stick to the first two since they are the most effective ones and easiest to get done.
I hope this information was useful!
Have a great day!
Check out our recommended products section

We created a recommended products section that will allow you to remove the guesswork and reduce the time spent researching what printer, filament, or upgrades to get, since we know that this can be a very daunting task and which generally leads to a lot of confusion.
We have selected just a handful of 3D printers that we consider to be good for beginners as well as intermediates, and even experts, making the decision easier, and the filaments, as well as the upgrades listed, were all tested by us and carefully selected, so you know that whichever one you choose will work as intended.
Error processing API data.
My ENDER 3 z-offset does not allow a negative number, it stops at 0. Also, when I go to control/settings, there is not a z-offset selection. Where do I enter the number?