This is an in-depth guide on how to swap out and replace the nozzle on your Ender 3 3D printer. However, it’s worth noting that this guide also applies to most other 3D printers out there since the process is virtually identical for 99% of them.
I will go over why you may need to change the nozzle, the tools you will need, and how to do it.
If you don’t want to have to go through all the trial and error that we did in order to find the Ideal Settings for creating high-quality prints on your Ender 3, then definitely check out our own Cura Profiles tailored specifically for the Ender 3 Printer Series.
So, without further ado, let’s get started!
When and why do you may need to replace the nozzle?

Nozzles wear out over time, especially if you use abrasive filaments, which is why you may need to replace them from time to time (link to an article of mine where I explain how often you should swap out the nozzle) since they won’t be able to keep extruding filament in the same consistent manner that is needed when 3D printing.
In addition to this, worn out nozzles may be more prone to getting clogged, and while cleaning & unclogging a nozzle might be a fairly simple process, it might be better to simply install a new one and not have to deal with the issue any more, especially since this could happen mid-print and cause the prints to be ruined.
In short; when do you need to replace the nozzle?
- When printing quality is lower and general printer maintenance won’t improve it.
- If the nozzle is worn out (in extreme cases it can easily be seen from the outside).
- If it’s clogging up a lot more than before.
How to replace the nozzle on your Ender 3 (Pro & V2) 3D printer
Now that we covered the “Why”, it’s time to jump into the “How”.
Disclaimer: Removing the nozzle on your Ender 3 printer, or any other printer for that matter, is a fairly simple and straightforward process that shouldn’t scare you at all, but there is one thing that I have to make absolutely clear which is not removing the nozzle while the hot end is still cold, since this could damage the nozzle, the heater block, or even the entire hot end!
So, always, ALWAYS heat up the hot end before unscrewing the nozzle, and the same thing applies for when you’re screwing in the new one since over tightening it while cold could also cause some damage, but more on this in a bit!
Now, you will need some tools to be able to replace the nozzle.
Tools you will need
While some of the tools that you can use to remove the nozzle already come included with the printer, you may need a couple additional ones. Luckily, it’ the kind of tools we generally already have at home.
Here’s what you will need:
- Crescent Pliers or channel locks (if you don’t have any of those, then regular pliers might work if they are large enough).
- Combination wrench (you can use the included open-end wrenches that come with the Ender 3 as well).
- Allen Keys (the included ones will work).
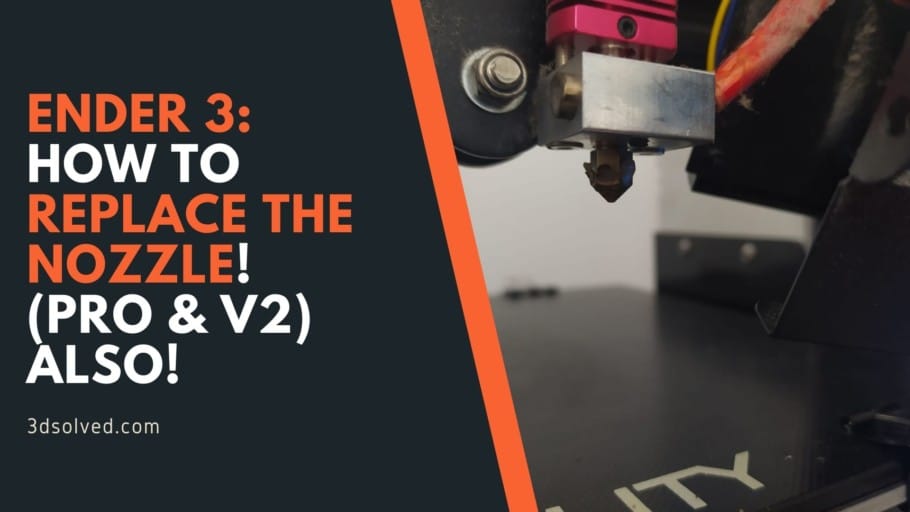
1. Remove the Fan Shroud & the Silicon sock
In order to gain access to the nozzle you absolutely will need to remove the fan shroud, and while you may still be able to unscrew the nozzle without having to remove the fan shroud, it’s much simpler this way and you won’t risk damaging anything.
Here’s how to do it:
- Using the Allen keys unscrew the two bolts that attach the fan shroud to the print head.

- Manually remove the Silicon sock (no additional tools required).

Now you’re ready to move on to the second step.
2. Heat up the hot end
The reason you should ALWAYS heat up the hot end before removing the nozzle is because the heater block, heat break, as well as the nozzle expand slightly, which makes the threads easier to loosen.
If you don’t do this, you might damage or completely break the nozzle or heater block which will need replacing.
How to heat up the Hot End on the Ender 3:
- Go to “Control”, then “Temperature”, select “Nozzle” and adjust the temperature.

Note: If there is still filament in the nozzle, this would be a good time to remove it before moving forward.
3. Remove the nozzle

Now that the hot end had time to heat up, you can use the channel locks or the crescent pliers, or if you don’t have of these then regular pliers may also work as long as they are large enough, to grip onto the heater block to keep it from rotating and getting damaged when unscrewing the nozzle.
While keeping a firm grip on the heater block with one hand, use the other one to grip the nozzle using the small (already provided) open-end wrench and unscrew it clockwise.
Note: Don’t do it counter clockwise or you’ll be tightening it even further, since this might also damage the nozzle or the heater block.
Once the nozzle is fully unscrewed, be careful not to touch it with your bare hands since it will be extremely hot (use pliers to unscrew the last bit so that the nozzle doesn’t fall to the ground).
Lastly, I’d recommend letting the hot end cool down before installing the new one, just don’t tighten it all the way!
4. Install the new nozzle (Don’t fully tighten it yet)
Since everything had time too cool down, you’ll notice that the nozzle won’t be as easy to screw in because the threads haven’t expanded. However, this is a good thing since it allows us to install the nozzle by hand, which makes things a lot easier than having to use pliers or a wrench.
Here’s how to do it:
- Check that the hot end has cooled down.
- Manually screw in the new nozzle until you can use a wrench to do so.
- Screw the nozzle in using the wrench until you feel that it’s tightening, but don’t over torque it, otherwise it might break.
You might have noticed that I didn’t make you tighten it all the way, and this is because you now need to heat up the hot end once again!
5. Heat up the hot end to give it the last tightening
Go through the same process of heating up the hot end (“Control”, then “Temperature”, select “Nozzle” and adjust the temperature) and let it reach the desired temperature (200°C should be enough).
DON’T TIGHTEN THE NOZZLE ALL THE WAY BEFORE HEATING UP THE HOT END if you want to keep stuff from breaking, I can’t emphasize this enough!
- Heat up the hot end and finish screwing it in using the included wrench.
- Lastly, don’t over tighten it. If you feel like you went too far, unscrew it just a little.
How do you know if you tightened it too much?
Well, this comes with practice really, but you could print this free nozzle torque wrench that will allow you to screw in the nozzle without ever breaking the thread.
If you don’t want to have to go through all the trial and error that we did in order to find the Ideal Settings for creating high-quality prints on your Ender 3, then definitely check out our own Cura Profiles tailored specifically for the Ender 3 Printer Series.
Happy printing
And that’s it, you’re now done and can resume printing.
I’d recommend going through a couple test prints first to see that everything is working properly, but generally changing the nozzle is a simple process that doesn’t create too many issues that may need solving.
I hope this information was useful!
Have a nice day!
Check out our recommended products section

We created a recommended products section that will allow you to remove the guesswork and reduce the time spent researching what printer, filament, or upgrades to get, since we know that this can be a very daunting task and which generally leads to a lot of confusion.
We have selected just a handful of 3D printers that we consider to be good for beginners as well as intermediates, and even experts, making the decision easier, and the filaments, as well as the upgrades listed, were all tested by us and carefully selected, so you know that whichever one you choose will work as intended.
Error processing API data.
…unscrew it clockwise…. – this is not really a good hint. The best would be – do it just like with a common screw. So, when looking from “behind” of the nozzle (like from top), it is really clockwise. When looking from plate, do it counter clockwise.
Anyway, the steps are good to follow, at least the pre-heating.