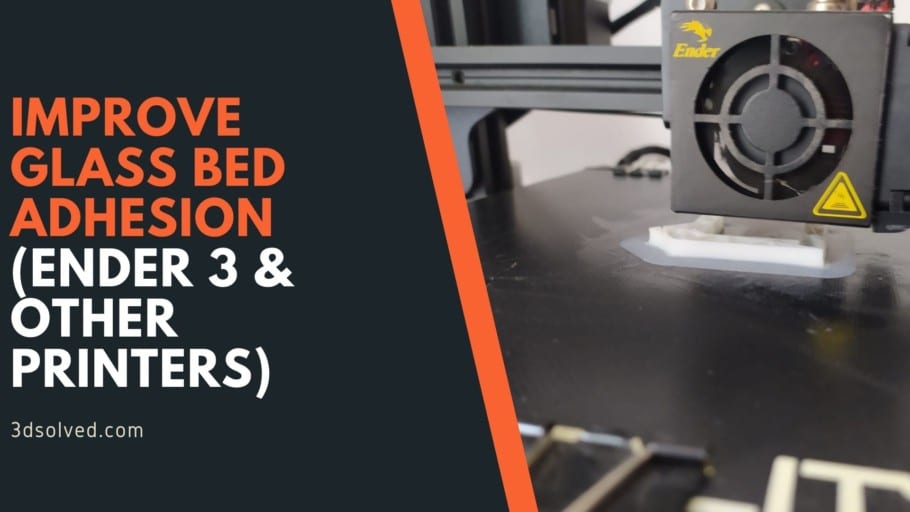
If there’s one thing that takes a lot of time to learn when getting into 3D printing, aside from leveling the bed which is also very closely related to the topic at hand, it’s getting the prints to stick to the bed and to keep them from detaching halfway.
In this article, I will provide you with a couple of tips from my own printing experience, some more general and some more niche, which should help you keep the prints stuck to the bed without any issues.
So, without any further ado, let’s get started!
If you don’t want to have to go through all the trial and error that we did in order to find the Ideal Settings for creating high-quality prints on your Ender 3, then definitely check out our own Cura Profiles tailored specifically for the Ender 3 Printer Series.
1. Properly level the bed

Leveling the bed of your 3D printer ensures that the nozzle will always be at the same distance of the bed, be it in the center, the sides or the corners of the bed, and this ensures a good first layer which improves bed adhesion and the chances of achieving a successful print.
If your printer doesn’t have automatic bed leveling, then check out this article I wrote about the best affordable printers that come with it already built-in since this will make your life a whole of a lot easier, but otherwise just take some time to learn how to properly level the bed of your 3D printer using a piece of paper or a feeler gauge.
- Full guide on how to level the bed of a 3D printer here (demonstrated on an Ender 3).
2. Clean the bed
After multiple prints, the build surface of your 3D printer will start to accumulate dust and other particles which can interfere with bed adhesion. However, the main culprit here is your own finger grease from touching the build surface when removing prints.
Always clean the bed using IPA (Isopropyl alcohol) and a piece of cloth to wipe the bed clean. I wouldn’t recommend using a paper towel since some particles of the paper may be left on the bed.
As far as how often you should do this, it really depends; I clean the bed only after every 5-10 prints and I generally don’t run into any issues, but you need to find out what works for you. If you have to clean it after every print, so be it.
3. Set the right bed temperature for the filament you’re using

This is something that I don’t see too many people talking about, especially on other blogs/forums, but it’s one of those things that really made a huge difference in my experience printing.
There is this study that was conducted about how bed temperature affected adhesion, and the conclusion is this; “This study shows a significant increase in adhesion forces when printing parts at a bed temperature slightly above the glass transition temperature of the printing material”.
What does this mean? Essentially, if your prints are warping or detaching from the bed, then you need to find out what the glass transition temperature of your filament is (PLA is 60°C, PETG 80°C, ABS, 100°C, etc.), and set the bed temperature slightly above it.
With PETG I found the strongest adhesion to be at 85°C and with ABS it was 110°C. PLA, on the other hand, sticks very well to the bed at 60°C and even lower.
Full guides on how to print PETG and ABS successfully here:
4. Switch off the fan for the first layers
Turning the fan off while the printer is laying down the first couple of layers will help a lot in keeping those layers stuck to the bed since they don’t cool down too fast before they can create a nice bond.
In most slicers, this setting is always enabled by default and the fan won’t be running during the fist layer/layers, but you should make sure that this is the case with your slicer as well and check the settings.
5. Print using a brim or a raft

A brim is a series of extrusions made around the model to further increase the contact surface area to improve adhesion. It’s, essentially, a wider first layer.
A raft, on the other hand, is a base that’s printed first where the model will then be printed upon.
Both improve bed adhesion by a lot; however, I almost never recommend using a raft since it uses more material, and removing it leaves a lot of unwanted marks on the model, whereas the brim also improves adhesion without being hard to remove and leaving very few marks, if any, on the model.
- Learn the difference between a Skirt, Brim and a Raft here, as well as how they affect print speed, filament usage, and more.
6. Apply Glue Stick to the build surface

Applying a small amount of glue stick to the bed before printing improves bed adhesion drastically, and I mean drastically.
I tested printing ABS on an Ender 3 without using an enclosure, which is generally not recommended when printing ABS since it warps, and got near perfect results with it since the glue stick kept the models stuck to the bed really well (I used a brim for better adhesion as well).
Now, since the glue stick helps the print to stick to the bed, removing it, especially while the bed is hot, can be near impossible. However, if you let the bed cool down to room temperature, removing the model becomes really easy.
So, always let the bed cool down completely before removing then print.
To remove the glue from the glass bed, wash it with hot water and soap and then let it dry completely before installing it again.
7. Apply Hairspray to the build surface
Applying a small amount Hairspray to the bed has a similar effect to the glue stick, since improves bed adhesion by quite a lot.
As far as which one is best, in my experience the glue does perform slightly better, especially when printing ABS.
One thing to note though is that, as I mentioned earlier, with the glue stick you only need to let the bed cool down and the print comes right off, with the hairspray, however, this is not the case and even after letting the bed cool down to room temperature it’s going to be harder to remove the print.
To completely remove the hairspray from the bed, use Isopropyl alcohol or Acetone (Acetone works a little better).
8. Use Painter’s tape or blue tape
Applying a couple strips of painter’s tape or blue tape to the bed may help improve bed adhesion, you need to make sure to not leave any gaps between the strips, however.
I tested this when printing ABS and the filament stuck really well to the tape and it also made removing the print a breeze since you only need to grab the tape and start peeling it off the bed, and the print will simply follow.
Now, even though the print did stick really well to the tape, I did run into the issue once of the tape not adhering to well to the bed, and the warping force of ABS pulled on the tape so hard that it detached.
9. Use an enclosure (mostly for ABS)

One of the main reasons that prints don’t stay stuck to the bed, aside from a badly leveled bed, wrong bed temperature, greasy bed, etc., is that all thermoplastics contract once they start to cool down, and this exerts a pulling force upwards which can result in warping, cracking of the print, and may also cause the print to become loose and detach from the bed.
To prevent this, you need to keep the temperature inside the printer (around the model) as high and consistent as possible since you want it to cool down slowly and evenly. This is especially true with filaments such as ABS which contracts a lot more when cooling down than other filaments, like PLA.
The easiest fix is to get an enclosure since you put the printer inside of it, start the print and close it (some printers come with one already built-in). This will ensure that the printing temperatures inside of the printer stay consistent and well above room temperature, keeping the model from warping, detaching from the build plate, and even from cracking.
There are plenty of affordable enclosures out there, and you could also build your own or even throw a cardboard box over the printer (absolutely not recommended since it’s flammable), but the one that I’d recommend getting is this one made by Creality which is non-flammable and extremely affordable.
10. Tape down the part
If none of the above work, then you could certainly McGyver it and use the tools at your disposal to get the print to stick to the bed.
In this specific case, I’m talking about grabbing that same Painter’s tape or blue tape I mentioned earlier and taping down the edges of the print once the printer is done with those lower layers.
Of course, you don’t want to apply tape to any part of the print that’s unfinished since the printer would need to keep printing there, but this is definitely a valid method and it does work (I’ve done it with one or two prints that started to come loose after a couple of hours since I didn’t want to restart the whole process).
If you don’t want to have to go through all the trial and error that we did in order to find the Ideal Settings for creating high-quality prints on your Ender 3, then definitely check out our own Cura Profiles tailored specifically for the Ender 3 Printer Series.
Conclusion
The most effective steps of this entire guide are; Leveling the bed properly, setting the right bed temperature (slightly above the glass transition temperature for better results), print using a brim, apply glue stick or hairspray, and if you’re printing with ABS, ASA, etc., using an enclosure.
I hope this information was useful, have a great day!
Check out our recommended products section

We created a recommended products section that will allow you to remove the guesswork and reduce the time spent researching what printer, filament, or upgrades to get, since we know that this can be a very daunting task and which generally leads to a lot of confusion.
We have selected just a handful of 3D printers that we consider to be good for beginners as well as intermediates, and even experts, making the decision easier, and the filaments, as well as the upgrades listed, were all tested by us and carefully selected, so you know that whichever one you choose will work as intended.
Error processing API data.