Knowing how to properly glue 3D printed parts is actually more important than you might think; Say one of your models breaks… well, glue can help you bring it back to life. Or let’s say you wanted to create a huge model out of different parts, then gluing those parts together can help you achieve a sturdier and overall stronger end result.
In this article, I will be going over the different glue types you can use, what filaments to use them with, how to get the strongest bond possible, and what safety measures and precautions you should take while doing so.
Here’s a short table where you can find most of the information, but if you want to know more about each specific blue type, then keep on reading.
| Glue Type | Bonding Strength | Filaments it works with | Safety Measures |
|---|---|---|---|
| Acrylic Cement | Extremely Strong | All Rigid Filaments: ABS, PLA, PETG, etc. | Flammable, Proper Ventilation, Skin and Eye protection required. |
| Super Glue (CA) | Extremely Strong | All Rigid Filaments: ABS, PLA, PETG, etc. | Proper Ventilation, Skin and Eye protection required. |
| Acetone | Strong | Any filament dissolvable in Acetone: ABS, HIPS, PLA. | Flammable, Proper Ventilation required. |
| Contact Cement | Strong | ABS, HIPS, PLA | Flammable, Proper Ventilation required. |
| Epoxy | Weak | All filaments except Flexible ones. | Proper Ventilation required. |
| Hot Glue Gun | Moderately Strong | All Rigid Filaments. | Avoid coming in contact with it since it can burn your skin. |
Now, let’s have a look at each individual Glue type!
Acrylic Cement
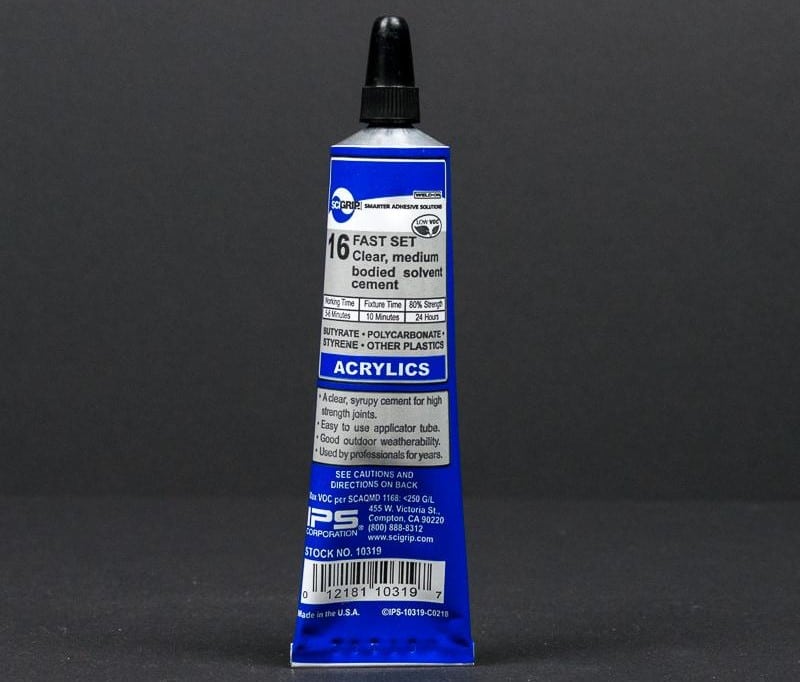
One of the least talked about, yet best working solution for gluing 3D printed parts together is Acrylic Cement. In fact, in most cases it seems to be the best alternative of them all since it creates a bond that is so strong that the print will break anywhere else before breaking at the glued joints.
In order to apply it, you should mainly do so on the edges of the print by following the perimeters (don’t apply it where the infill is, unless you’re using a really high infill percentage).
Works best with:
Acrylic cement can bond together rigid materials like ABS, PLA, or PETG.
How to prepare the surface for optimal bonding
If you are working with a surface that has grease or dirt, use alcohol to clean it first and then let it dry. Grinding the uneven surfaces flat with sandpaper will ensure that the acrylic cement will adhere properly.
Safety Measures
Acrylic cement is the most flammable product listed in this article and should be handled with extreme caution. It is also considered highly hazardous and can be very toxic by ingestion, inhalation, and dermal absorption.
Workers who handle acrylic cement are advised to protect themselves with appropriate safety equipment. It requires special eye and skin protection.
Proper ventilation and using a breather is a must as acrylic cement contains Methylene Chloride which is known for causing cancer.
Super Glue (CA)
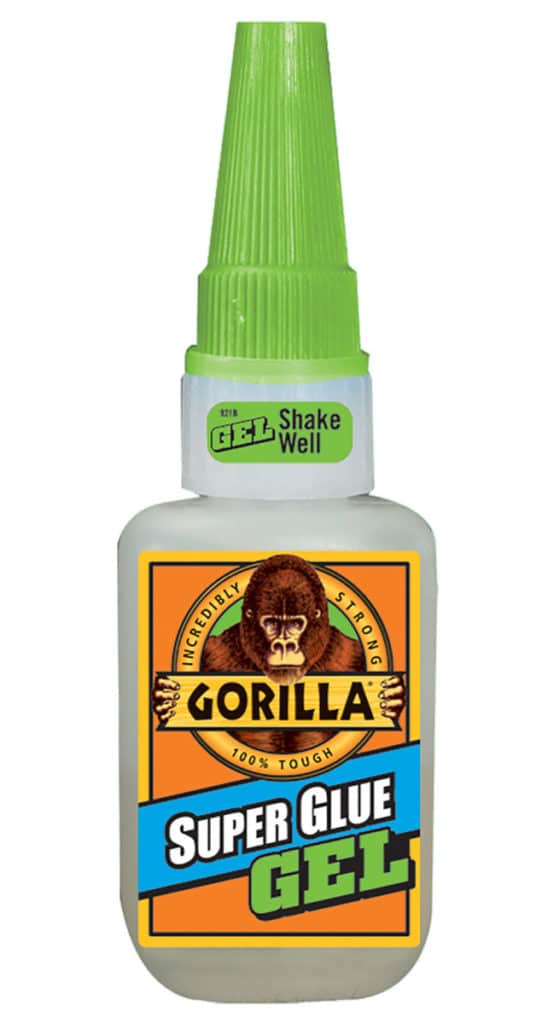
Just like with Acrylic Cement, Superglue works really well with 3D prints; It’s easy to use, it creates a really strong bond, cures extremely fast, and the seams are nearly invisible.
Now, since it cures/dries so fast, make sure to align the parts properly and fast, because once it cures, there’s no going back.
Works best with:
Any material that is rigid enough to hold its shape when printed will work well with superglue. Acrylonitrile Butadiene Styrene (ABS), Polylactic Acid (PLA), and Polyethylene Terephthalate (PETG) will give excellent results.
How to prepare the surface for optimal bonding
If any of the surfaces are rough or uneven, use some fine-grit sandpaper on them until you’re confident that they’re flat and smooth. Use alcohol to wipe down those surfaces and let them dry. Make sure there’s no dirt, loose particles, or grease on the surfaces that you’re intending to glue together.
Safety Measures
Superglue has an extremely fast curing time, so it’s best if you don’t accidentally get any on your skin. You should always protect your hands with gloves to make sure your skin is not exposed to it directly. The cyanoacrylate adhesive was originally used by combat medics to seal wounds quickly on the battlefield during the Vietnam war, that’s how fast it cures.
While you’re working, put down an old newspaper to protect your furniture. Be aware that you can damage your clothes with superglue. The reaction between the superglue and cotton or wool is strongly exothermic. In the worst cases, superglue can burn through clothes and towels, and emit white, noxious smoke.
Although CA is non-toxic, you should always use it in a well-ventilated space. If used in large quantities, superglue may irritate airways and eyes if inhaled.
You should make sure you are not keeping your superglue in places where children or pets can get to them.
Acetone
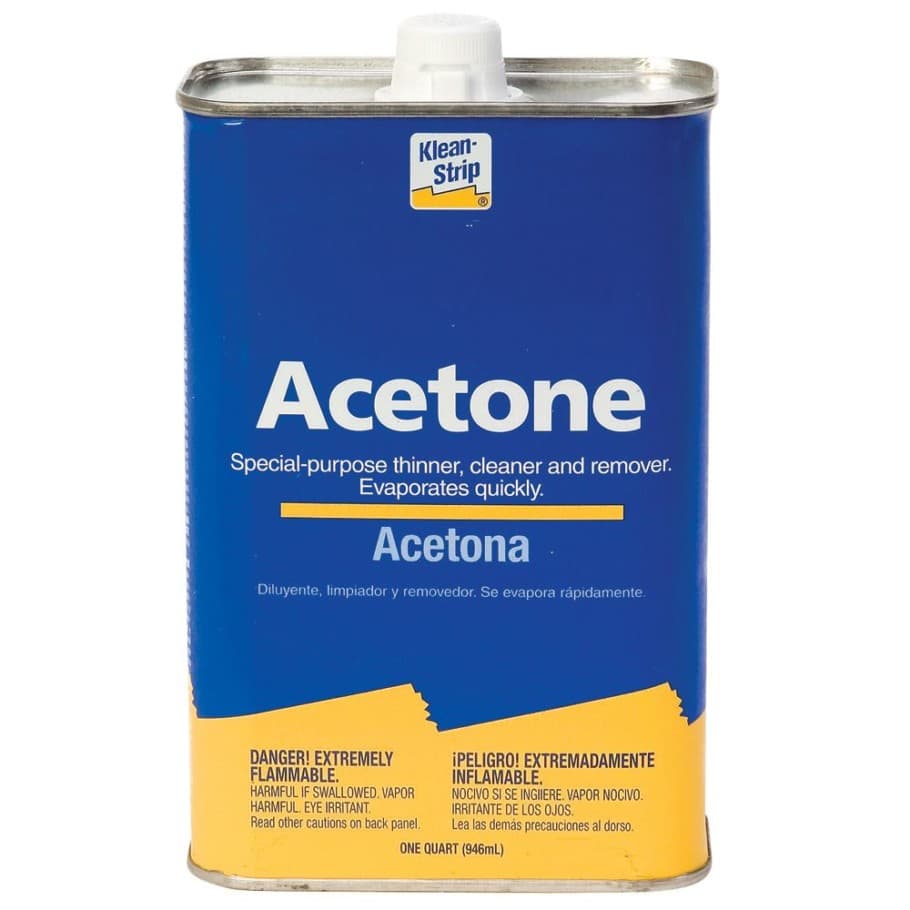
Acetone, also known as paint thinner, can be used for bonding 3D printed parts made of ABS, PLA or HIPS, and the way it works is by slightly dissolving the surface of the 3D prints and creating a bond between the two parts.
Here’s how to use it properly;
- Don’t apply too much acetone, especially if it’s a thin 3D model.
- Using a brush or piece of cloth soaked in acetone, apply a thin layer to both surfaces you want to bond.
- Use clamps or duct tape to hold the pieces in places so that they can bond properly. Depending on the size of the print and the amount of acetone used, you will need to keep the pieces taped together anywhere from a couple of minutes to a couple of hours.
The acetone will dilute a thin layer of the prints and once those two surfaces come into contact with each other, they will “mix”, essentially gluing together.
Works best with:
Considering their purity, ABS, HIPS, and PLA are each suitable for bonding using acetone. Any other materials, as long as they can be dissolved by acetone, will also work.
How to prepare the surface for optimal bonding
To prepare surfaces for bonding, sand both surfaces to make sure they’re flat and smooth, and you will also want to clean any grease and dirt from both surfaces before you apply the acetone.
Safety Measures
Acetone is a flammable liquid. Keep it away from anything that is capable of causing a fire. Be careful around flames, sparks and other hot surfaces when handling acetone, otherwise it may burst into flames.
Acetone evaporates quickly and is toxic, so it’s important to conduct your work outside or in a well-ventilated area. If you experience dizziness while using acetone, leave the area immediately and take deep breaths.
Contact Cement
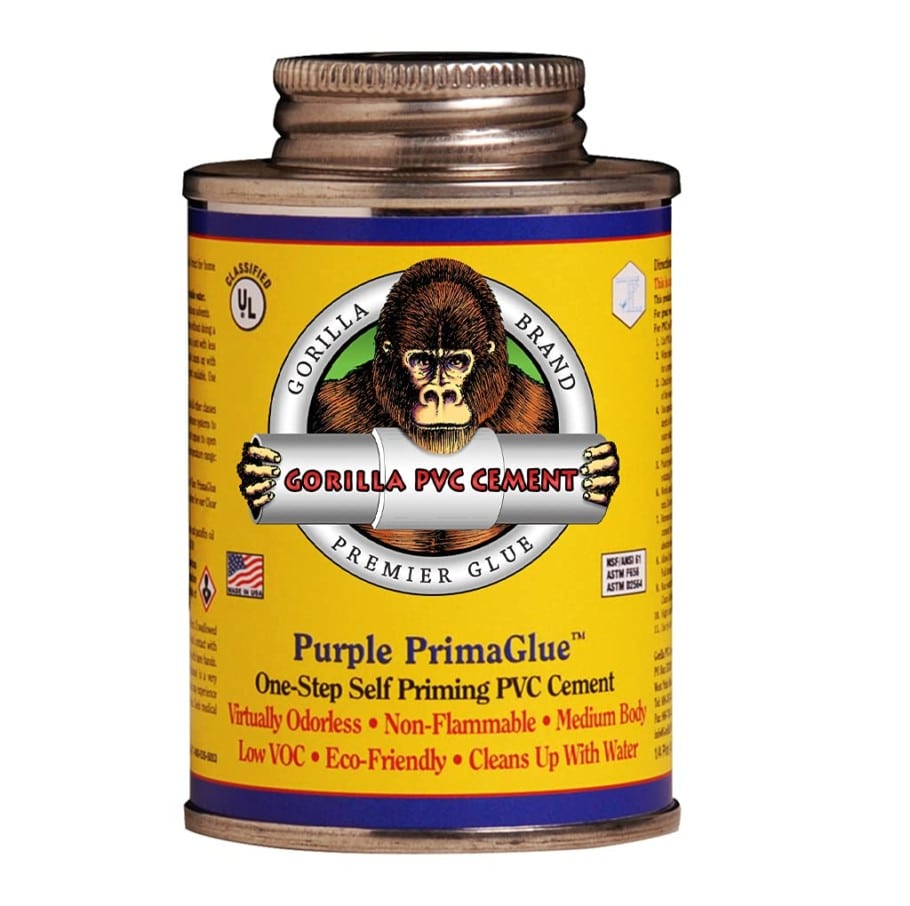
Contact Cement works well when bonding ABS, HIPS and PLA, and it’s a solvent based glue, which means that it works via the same principles as Acetone (by diluting the surface it comes in contact with and then “mixing” the two surfaces to create a strong bond).
Again, only apply a small amount on both the objects you want to glue together using a cloth or small brush, and then hold the pieces together with duct tape or clamps.
Important Note: Even though the bond created with Contact Cement is extremely strong, it’s not transparent, meaning that it will create visible seams.
Works best with:
Materials that can bond with acetone: ABS, HIPS, PLA, and any other material with the same properties.
How to prepare the surface for optimal bonding
Grease and dirt shouldn’t be on either surface. Clean them with alcohol and let them dry. Before applying contact cement, it is advisable to flatten surfaces with sandpaper otherwise cement won’t stick to surfaces.
Safety Measures
Don’t use Contact Cement in or near fireplaces, stoves, furnaces, or other high heat sources. As a flammable and volatile liquid, it is prone to accidental combustion.
It’s best if you can use contact cement outside, but if not, you should be sure to have adequate ventilation. Avoid inhaling the fumes. If you experience nausea or lightheadedness while using it, move to an area with fresh air.
Epoxy
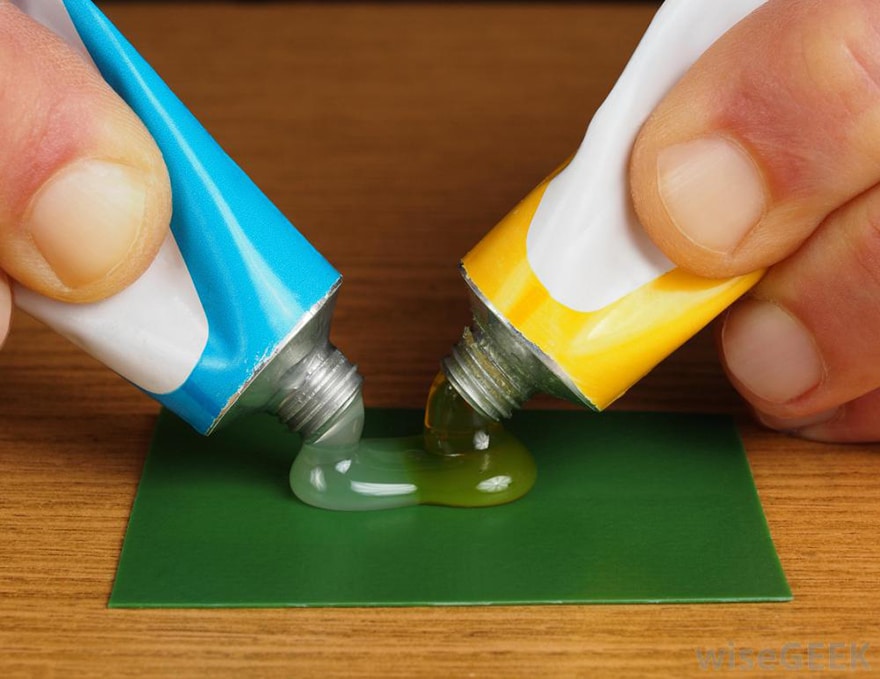
Epoxy is another great way of gluing 3D printed objects together, and it does work well with most filament types.
Not only can epoxy be used as a glue, but it can also be used as a filler for your prints; If there’s a hole or a gap that needs filling, use epoxy. It can also be used to cover up seams, and since it can be sanded, the seams shouldn’t be all that noticeable.
However, don’t use it with flexible filaments! This is because once epoxy cures, it hardens, which kind of defeats the whole purpose of a flexible filament.
Additionally, it doesn’t form as strong of a bond as the previous methods I listed; When force is exerted on the print, it usually breaks at the joints that were glued together, contrary to what tends to happen with superglue or Acrylic Cement, where the print breaks anywhere else.
Works best with:
Epoxy has proven to be a somewhat reliable bonding agent for most materials, but when using with flexible materials it may leave an undesirable rigid finish.
How to prepare the surface for optimal bonding
To bond two pieces using epoxy, they do not have to be completely flat since epoxy can fill up uneven surfaces.
Safety Measures
Just like the CA glues, epoxy glues are relatively safe to use. Though they’re not toxic or dangerous, epoxies can be a common allergen and the worst-case scenario is that they will make you blink and cough. Always check the labeling for any added or filler materials that can make it unsafe to use without proper ventilation.
While mixing, you should watch out for the heat it produces as some types of epoxy can get much hotter than others because of an endothermic reaction.
Hot Glue Gun
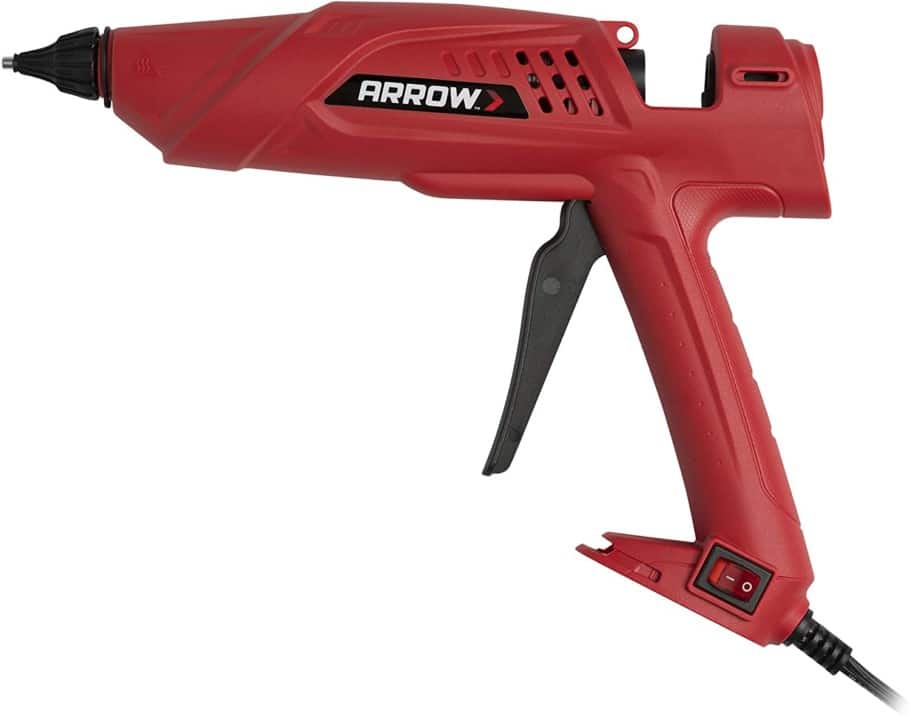
Even though the bonding created when using hot glue is quite strong, it definitely leaves a mark and the seams can be seen, which is why I wouldn’t recommend it as a first choice.
However, it’s easy to apply and the bonding/drying of the glue occurs in a matter of seconds.
Works best with:
Hot glue can be used to bond together all rigid materials like ABS, PLA, or PETG.
How to prepare the surface for optimal bonding
Deeply clean both surfaces and inspect all them for loose particles as they could prevent your object from sticking to the hot glue.
When using hot glue, take advantage of the fact that it can fill up uneven surfaces or slight irregularities easily and effectively.
Safety Measures
Hot glue is extremely hot and can cause burns. Be careful to avoid getting burned.
Thermal Welding
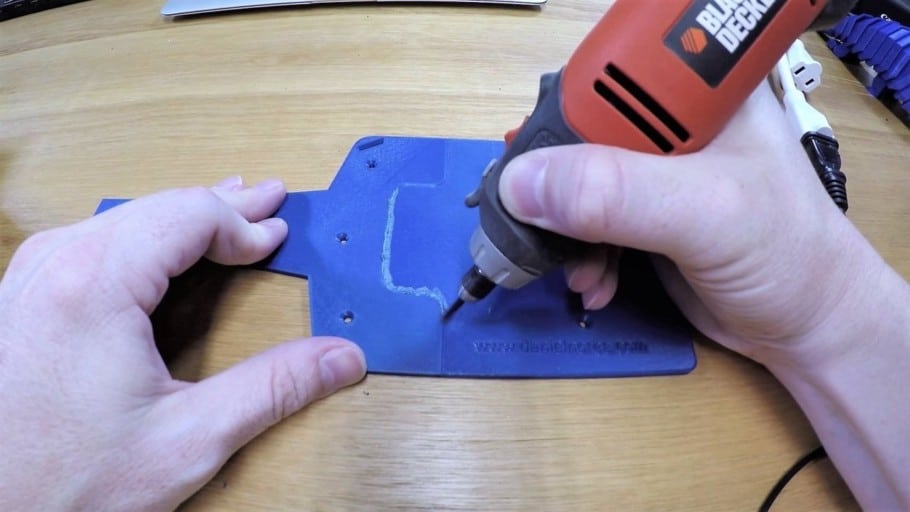
Instead of using glues or cement, you can use thermal- or friction welding to join plastic 3D printed pieces together and fill in any cracks by creating a strong and durable bond.
Friction welding is a method of joining parts using heat generated by rubbing them with a rotary tool. The process of friction welding works by using a spinning bit to melt the ends of two parts, after which they are fused together. You can secure a small part of the filament in a rotary tool, then use it to apply the weld. It’s a good way to make sure that the joints are strong enough to take the weight of the larger prints. It is a cool technique and when you try it, you’ll be glad that you did.
The speed of the drill will affect how much heat is developed, and therefore how fast the welding can be done, but if the speed is too fast, it will be harder to control and the quality of the weld will depreciate. Typically, the key is to find the right balance between speed and quality.
To ensure a deep and secure bond, you’ll want to weld up in layers and not all at once. If your gap is larger than the width of your filament, wait for it to cool down before you proceed to the next layer
If you want your joints to have a seamless look, you need to get the post-processing right. Use sandpaper to scrape the excess material off. As with other types of smoothing, you should start with coarse sandpaper and later progress to fine sandpaper. If you want to hide any blemishes from welds, it would help to paint or put a polish on your print.
Additional considerations for getting a good bond
No matter how strong the adhesive is, it will not bond properly unless you prepare the surface properly. The recommended practice is to remove dirt or any unwanted surface layer like oil or grease. Besides that, for most glues, it is essential to flatten the uneven or irregular surface before bonding them.
A bond will always be weaker with a flexible material than a stiffer one. That is why, all glues make strong bonds with rigid filaments like PLA, ABS, and PETG without any problems.
This means that flexible materials will probably never be able to be glued together efficiently.
How to make 3D printed parts stronger
I’ve always been a fan of annealing, as it is one of the best ways to significantly strengthen the printed parts. Annealing plastics involves slowly heating them to their glass transition temperature or just slightly above it, but below its melting temperature, holding them there for a certain period of time, and then slowly cooling them down.
Plastics at a microscopic level typically appear disorganized and amorphous. They are likely to cause “banding” when printed, which is when the plastic cools quickly in some areas forming small crystals, while in other areas large crystals are formed. Annealing allows printed parts to be stronger and more durable by adding more large crystal structures in the plastic which helps to redistribute the stresses more evenly.
Conclusion
Acrylic cement and Superglue are the two best glue types since the bond that they create is as strong, or even stronger, as the 3D print itself, meaning that if force is applied on a 3D printed part that was glued together using either acrylic cement or superglue, it is going to break at any other point first before breaking where the glue was applied.
I hope this information was useful!
Have a great day!
Check out our recommended products section

We created a recommended products section that will allow you to remove the guesswork and reduce the time spent researching what printer, filament, or upgrades to get, since we know that this can be a very daunting task and which generally leads to a lot of confusion.
We have selected just a handful of 3D printers that we consider to be good for beginners as well as intermediates, and even experts, making the decision easier, and the filaments, as well as the upgrades listed, were all tested by us and carefully selected, so you know that whichever one you choose will work as intended.
Error processing API data.
