3D printing allows us to create all kinds of cool stuff. Amongst them is the ability to create 3D letters for a name or logo. In this article, I will demonstrate how to design and 3D print your desired text using 3D modeling software.
I’ll give you the recommended slicer settings and even a walkthrough on how to 3D print both computer typed and your handwritten texts. The process is quite simple and won’t take you too much time to get it done.
3D modeling software for printing text
In order to 3D print your desired text you will need to use a 3D modeling app. Most of them can be used for this purpose so the choice is yours. The ones that come to mind for this task are Tinkercad, Fusion360, and SketchUp. Tinkercad is going to be my choice as it can be used for free, is easy to learn, and can be used without the need to download and install the program (it is browser-based).
How to create the text
To get started with the project you will need a Tinkercad account. Head over to their website and follow the instructions to create an account. Once you got your account, you will be asked to do a tutorial to learn the basic concepts of Tinkercad, I suggest you do it as it doesn’t take much time.
When you are finished with the tutorial, it is time to start the design! In this case, I will show you how to create step by step a simple nameplate. Click the “Create new design” button on the upper left section of the homepage.
- 1. Create a Base

Select a “box” from the “basic shapes” on the right side and drag it onto the workplane. Resize the box into a thin rectangle as big as you want the nameplate to be. You can specify the exact measures you want it to have by clicking the white and black squares that show up when you click the shape. Tinkercad displays the measurements as millimeters.
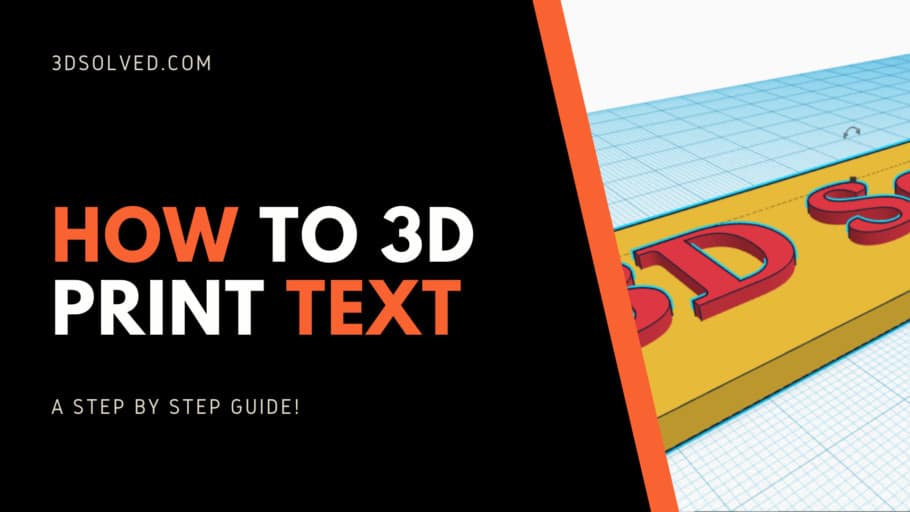
- 2. Create and Position The Text

Go to “Text and numbers” on the right side, select “Text” and drag it onto the workplane. Expand the “Text” options and write the desired name. Then adjust the “text” height so it is a little higher than the base and drag it into the base. If you need to resize the “text” to fit the base you can shift+click one of the “Text” squares to change its size altogether. When you are happy with the looks, select both shapes (base and text) by shift+click and click on “Group”.

- 3. Export The File Ready to 3D Print
Now that our design is finished click on the “Export” button on the upper right side. Select “.STL” and the file will be downloaded to your PC ready to be sliced and 3D printed.
- 4. Extra Option to be Able to Screw The Nameplate

If you would like to screw to nameplate to a surface, you can add holes on the sides. To do this select the “Cylinder” from the basic shapes and drag it onto the workplane. Adjust the Cylinder’s height to match the base’s height. Now duplicate the Cylinder and put them on the sides of the nameplate.

Select the “Hole Cylinder” from the “Basic shapes” and drag it onto the workplane, this shape will create the hole for the screws. Resize the “Hole Cylinder” while holding Shift to a convenient size for the screws you will use later and duplicate the “Hole Cylinder”. Finally, drag the “Hole Cylinders” to the middle of the “Cylinder”, select all shapes, and hit the group button.

Slicer settings for 3D printing text
Model Orientation
Make sure your model is positioned in a way that will allow you to print it without the need for supports. That usually means with its back against the print bed. In the case where you can’t avoid the need for supports try to have them away from the letters.
Layer Height
The layer height you can use depends on your nozzle’s diameter. Check this article to see the range you can use for your nozzle’s diameter. Having said that, as we don’t have any details in the Z-axis, we can use a high layer height to save some printing time. It would be a good idea to have the layer height be a multiple of the model’s height.
Infill, Wall Thickness, and Top Layers
We want the letters to be as solid of a structure as possible so they don’t break. To achieve that use a high wall thickness, ideally a multiple of the nozzle’s diameter (1.2mm for a 0.4mm nozzle). That way there will be little to no infill in the letters. For the top layers use a multiple of the layer height (1.2mm top layer thickness for 0.3mm layer height). Having a few solid top layers will give a better look to the model.

As you can see, it is rather easy to create your own plaque. Additionally, if you want to achieve a smoother surface both on the letters and on the plaque, you could try enabling ironing.
Bonus: Convert handwritten text to 3D print
You can 3D print your very own handwritten texts and it is very easy to do. Follow these simple steps:
- 1. Draw your Text

Draw your text preferably using a thick black marker so there is a good contrast with the sheet of paper. This way we can ensure there will be no problems when we convert the image to an SVG file.
- 2. Scan your Text

Use a scanner (there are many mobile apps that can scan an image) to scan your written text as a PNG file. I personally chose to use CamScanner (Android |Iphone). Then convert the PNG file into an SVG file so it can be imported to Tinkercad. I used this free online converter for my text.
- 3. Import the File to Tinkercad

Import the SVG file to Tinkercad by clicking on the “Import” button on the upper right side. Once you selected your file to be imported, scale it down to 5% as these files are quite large, and click “Import”. If you wish to resize the image after it is imported, use Shift+click and adjust the size.
- 4. Export File
Now we are ready to export the file to the slicer. Click “Export” on the upper right side and select STL.

Conclusion
As we saw, we can easily create custom-written signs. Although the steps are different for handwritten and computer typed texts, both options turn out to be a good starter project to get used to modeling apps and turning ideas into real-world objects.
Check out our recommended products section

We created a recommended products section that will allow you to remove the guesswork and reduce the time spent researching what printer, filament, or upgrades to get, since we know that this can be a very daunting task and which generally leads to a lot of confusion.
We have selected just a handful of 3D printers that we consider to be good for beginners as well as intermediates, and even experts, making the decision easier, and the filaments, as well as the upgrades listed, were all tested by us and carefully selected, so you know that whichever one you choose will work as intended.
Error processing API data.