ABS or Acrylonitrile Butadiene Styrene is a widely used polymer due to its physical properties and reduced costs. It is also one of the trickiest filaments of the consumer range to print with because it is prone to warping and delamination. It was widely used by the first DIY printers but now it’s being replaced with better alternatives.
Enclosed printers will have a better chance of success but with the right settings, you should be able to print some parts with ABS on most printers. The extrusion temperature should be between 230°C and 250°C, and the bed temperature at 100°C. Better results are obtained with the fans completely turned off, and using a brim is recommended. Better bed adhesion is obtained with PEI sheets or coated glass beds.
For better results, it is recommended another polymer that is a slight variation known as ASA or Acrylonitrile styrene acrylate.
The issues with ABS

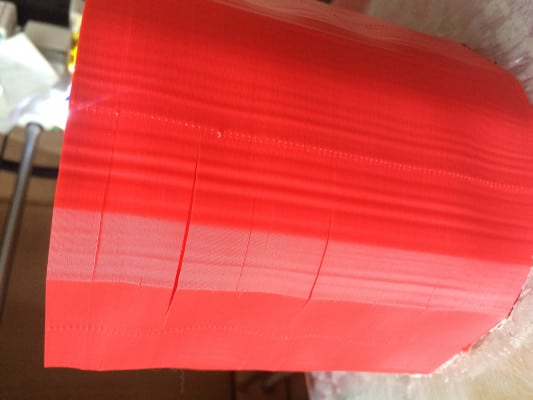
Anyone who has printed with ABS will have encountered at least one of the known issues with ABS such as warping and layer delamination. ABS expands quite noticeably when molten and then when it solidifies it contracts again. This phenomenon causes tensions in the printed object that tend to bow it upwards or crack along the layer lines.
Warping and delamination can be solved with an enclosure and good bed adhesion.
There is also the subject of fumes, odor, and particles emitted while printing. ABS should only be printed on ventilated areas or with protective filtering systems. Nausea and headache have been reported if overexposed to ABS emissions.
While it is a little bit more expensive, ASA has less tendency to warp or delaminate and it doesn’t give off as many fumes and particles while maintaining the advantages of ABS. These advantages are making the whole 3D printing community to shift towards ASA.
Why print with ABS?

The main advantages of ABS are its wide range of continuous use (-20ºC to 80ºC) temperature and its high impact strength. Conversely, PLA for example softens at only 50ºC so it won’t handle outdoor conditions very well. PLA also tends to shatter like glass on impact, so it won’t be suitable for applications where toughness is a requirement.
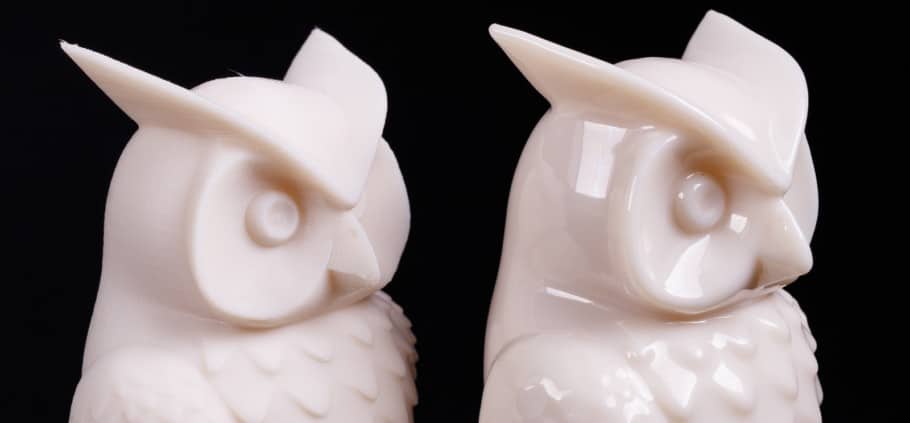
There’s also the possibility of acetone vapor smoothing that can make ABS (or ASA) parts smooth as if they were injection molded.
Polymers are susceptible to UV rays to the point that they may start to crumble upon prolonged exposure to the sun. ASA brings along UV resistance along with the other advantages of ABS.
Fine-tuning Cura’s parameters for printing with ABS
Enable Cura’s default ABS profile (Use it as a starting point)
Cura has a lot of profiles for known brands built-in, so it is a clever idea to use them as a starting point and do small tweaks from there. If the brand isn’t listed, you can start with a generic ABS profile.

Layer Height
Layer height greatly affects print time, detail, and strength. Print time decreases with bigger layer heights, but detail and strength decrease as well. For the case of ABS, it is better to choose thinner layers to avoid delamination.
A study shows that lower layer height to nozzle size ratio increases strength because it leaves fewer gaps between layers. So, the recommendation would be to get a bigger nozzle if you need bigger layers. You can also emulate a bigger nozzle by changing the extrusion width but it’s probably best not to go further than 125-150% of your actual nozzle size. (e.g., 0.6 mm for 0.4 mm nozzle.)
For a 0.4 mm nozzle (or extrusion width) a 0.2 mm layer would be the largest advisable in ABS. You can check out the paper here
More info on this topic in this article of ours.
Fine Tuning
Print changing only layer height slightly and check the results until you find the perfect layer height for your specific project.
Ideal ABS Layer Height:
- For Detail: 25% of nozzle size or extrusion width (0.1 mm for 0.4 mm nozzle)
- Overall best layer height: 25% – 40% of nozzle size or extrusion width (0.15 mm for 0.4 mm nozzle)
- Quick Prints/prototyping: 50% – 65% of nozzle size or extrusion width (0.2 mm for 0.4 mm nozzle)
Printing Temperature
Ideal ABS Printing Temperature: 235 – 250 ºC
Printing temperature is particularly important in ABS because it changes layer adhesion and detail in opposing ways. The higher the printing temperature, the higher the layer adhesion but the lower the detail. After the melting temperature is achieved polymers tend to become less viscous when increasing it further so details won’t be as crisp.
ABS (and ASA) print at elevated temperatures so while you can get away without one, an all-metal hotend will enable you to get better results.
Fine Tuning
Tuning the temperature can be done by printing a temperature calibration tower and changing the extrusion temperature after a fixed distance. Once the print is finished, you’ll be able to clearly see the range in which your filament has the best layer adhesion and details.
Here’s a good video on covering this subject:
Bed Temperature
Ideal ABS Bed Temperature: 100ºC+.
Bed temperature is key when printing with ABS. Without a heated bed it is virtually impossible to print. Getting ABS to stick firmly to the bed will ensure that you get a successful print.
A study shows a bed temperature slightly higher than the filament’s glass transition temperature greatly improves adhesion. Check it out here
Polymers unlike substances like water have an extra characteristic temperature which is the glass transition temperature. When the polymer is heated above that threshold its physical properties change from fragile and hard to ductile and tough.
ABS glass temperature is about 110ºC so if your machine can achieve such temperature, it is highly advisable to set it to 110ºC or higher. A more pronounced elephant foot is to be expected but that can be compensated on the slicer or the model itself adding a chamfer on the bottom.
Fine Tuning
Bed temperature doesn’t need to be fine-tuned very precisely. Just try to go over 100ºC and increase it until your print is successful.
Print Cooling
With ABS you should not use cooling to prevent layer separation and warping. Part cooling fans can be used on some occasions up to 30% when details are a major concern and ambient temperature is high. The best first guess is to turn off part cooling altogether except for bridging. Be aware that while bridging abilities are improved, the chances for delamination increase drastically.
Fine Tuning
A tower can be printed in the same way as the temperature calibration tower but only changing part cooling.
Ideal ABS Cooling Settings:
- Initial Layer fan speed: off
- Fan speed: off
- Bed Adhesion Type: PEI sheets or coated glass
- Brim Width: At least 10 mm
Print Speed
As ABS doesn’t go well with part cooling, speed must be reduced to allow the plastic to solidify. Depends on your printer and the size of the part but a good starting point would be 20 – 30 mm/s for the first layers and 30 – 60 mm/s for others.
Perimeters should be kept as low as possible and infill speeds can be increased.
Fine Tuning
Print the same part changing only the printing speed to see how it affects your setup.
Ideal ABS Speed Settings:
- Print Speed: 30 – 50 mm/s
- Initial layer print speed: 20 – 30 mm/s
- Infill Speed: 40 – 60 mm/s
- Travel Speed: 60+ mm/s depending on the printer
Retraction
ABS can be quite stringy as temperatures involved are high and no cooling is used but if retraction is tuned correctly and a few other options are activated you’ll be able to get impressive results.
A stringing test can help to tune retraction. To start with use 3 mm retraction distance if you have a direct drive extruder and 6 mm if you have a Bowden setup. Retraction speed of 25 mm/s in either setup would be a good first guess. Cura’s stock settings tend to work well.
What is Combing & what setting to use?
Combing turns off retraction and modifies travel moves to go over the infill to deposit any plastic that oozes out. It can help to set it to “Within infill”
Fine Tuning
Print various stringing tests changing your retraction speed or distance a little bit each time to fine tune these settings.
Ideal ABS Retraction Settings:
- Retraction Distance: 3 mm for direct or 6 mm for bowden
- Retraction Speed: 25 mm/s
- Combing: ON and set to “Within Infill“
Bed Adhesion
As mentioned in the bed temperature section, adhesion is greatly increased if the temperature is set above the glass transition temperature of the filament.
Brims are a one-layer thick border that increases contact with the bed. Using them can help a lot on models that don’t have a good base to stick to the bed. Skirts are the same thing but don’t come into contact with the model, it only acts as priming of the nozzle, so it won’t do much for layer adhesion.
A Raft acts in the same way as brims but is composed of at least two or three layers that go under the whole model. It can also help compensate for any unevenness of the bed.
Glue stick, hairspray, and painters’ tape are allies when fighting bed adhesion. If nothing works try using some glue stick, any specially formulated bed adhesive, or neatly apply painters’ tape and give it a go.
Ideal ABS Bed Adhesion Settings:
- Bed Temperature: 100+ºC
- Bed Adhesion Type: PEI sheets or coated glass
- Brim Width: At least 10 mm
- Products that help with adhesion: Glue Stick, Hairspray, painters’ tape.
Do you need an Enclosure for printing ABS?
While you can get away without an enclosure on small models, having an enclosure will definitely help when printing with ABS. If your printer has a heated chamber, even better.
Summary: Ideal Cura Settings/Profile for printing ABS
- Layer Height: 25% – 40% of nozzle size or extrusion width (0.15 mm for 0.4 mm nozzle)
- Printing Temperature: 235 – 250 ºC
- Bed Temperature: 100+ºC
- Bed Adhesion type: PEI sheets or coated glass
- Retraction Distance: 3 mm for direct or 6 mm for bowden
- Retraction Speed: 25 mm/s
- Print Speed: 30 – 50 mm/s
- Travel Speed: 60+ mm/s depending on the printer
- Fan Speed Initial Layers: off
- Fan Speed rest of the print: off (except for bridging)
Error processing API data.
