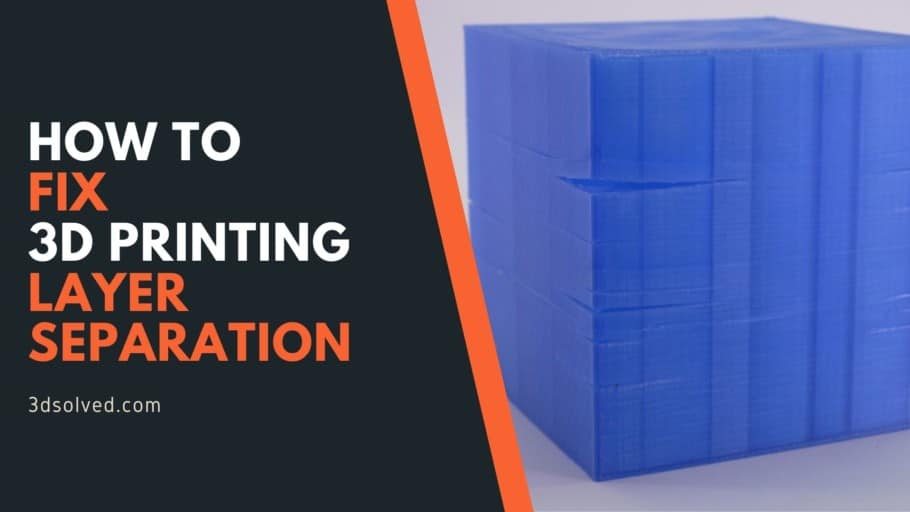
When printing, are your models cracking and are the layers separating? This is commonly referred to as layer separation or delamination and it’s essentially caused because of poor layer adhesion.
In this article, I will be going over what layer delamination is, why it happens, and how to solve it.
So, without any further ado, let’s get started!
Layer Delamination or Separation, what is it?
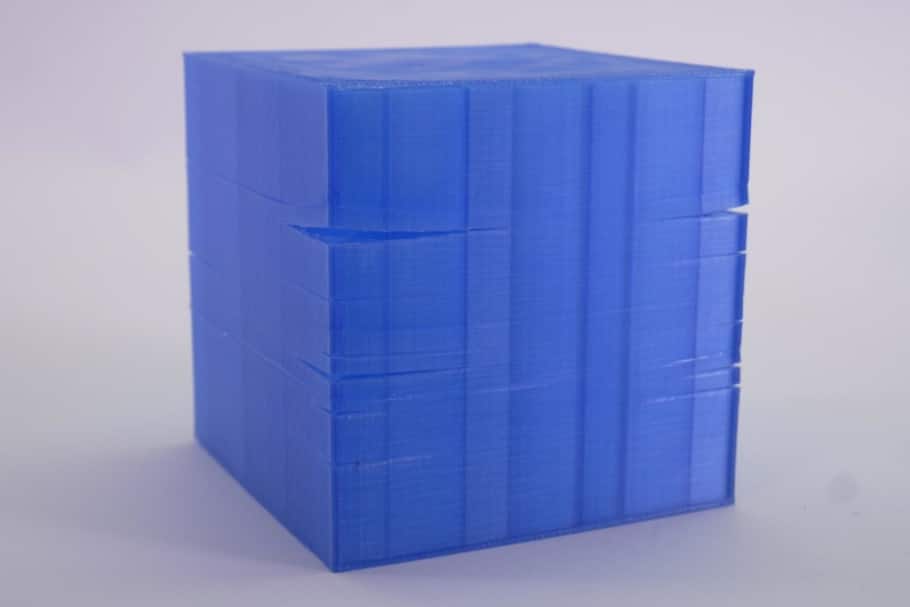
FDM 3D Printing works by building an object layer by layer, where the last layer is printed on top of the previous one. If layer adhesion isn’t strong enough, then the part might split or separate at different spots, which can be seen as cuts or cracks on the outside of the print.
This is often the case with ABS because it contracts when cooling and this can sometimes separate the layers if it’s not printed with an enclosure or a properly heated bed.
Let’s take a closer look at why layer separation happens;
Why does Layer Separation Happen?
Layer separation occurs when the 3D object cracks because of the forces exerted by the plastic when the layers are cooled at different rates, and this creates a force generally referred to as “warping” in the middle of the print, which exceeds the layer adhesion and separates the layers.
While fixing an already cracked print isn’t possible, it’s fairly easy to make sure that it doesn’t happen again with just a few simple steps, so let’s take a quick look at them now.
How to solve Layer Separation
In most cases, it comes down to printing with an enclosure since this will keep the part from cooling unevenly and by setting the bed temperature correctly. This should solve the problem in most situations.
However, here’s a list with all the possible solutions to deal with layer separation and to improve layer adhesion.
Use an enclosure
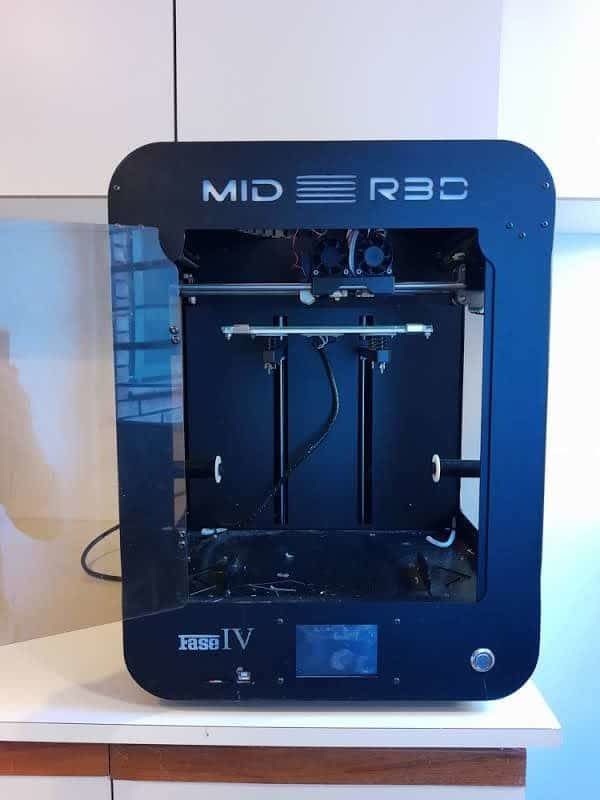
What an enclosure will do is help stabilize the temperature inside of the 3D printer, and this will keep the parts from cooling down too fast, which will in turn reduce the chance of warping and layers from separating.
Not all printers come with enclosures, but you don’t necessarily have to buy a printer that comes with one or even buy an enclosure since you can make one yourself. Just make sure that the materials used for the enclosure aren’t flammable. You can also go ahead and buy an enclosure with standard dimensions for most printers!
If you want to build an enclosure yourself, then follow this guide which goes extremely in-depth.
Note: Most enclosures are not being actively heated but rather keep the heat that’s being produced by the bed and the nozzle inside of it, and this is generally enough to solve any issue related to heated bed.
I wrote an entire article on why you might want to consider printing with an enclosure, which you can find here.
Reduce the Layer Height
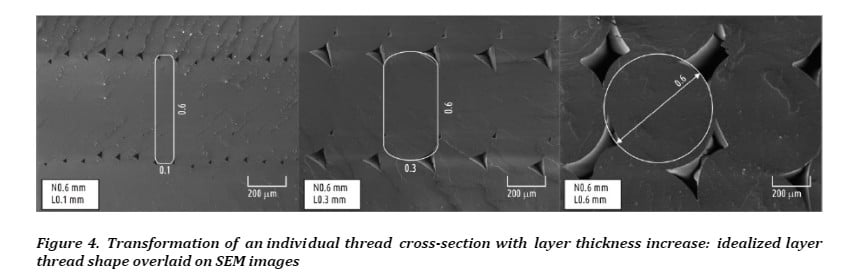
When printing with a lower layer height there’s a wider contact surface area, which means that the bond between each layer will be much stronger than if you printed it at a larger height. If the layers of your print are adhering poorly, then lowering the layer height will strengthen that bond.
As you can see from the image I linked above, decreasing the layer thickness drastically improves the contact surface area between each layer, and this translates directly into better strength for your prints.
Strongest layer heights: 0.1mm up to 0.15mm.
I wrote an entire article that goes in-depth on what the best layer height is for 3D printing, both in terms of strength as well as detail, so make sure to check it out.
Increase the Printing Temperature
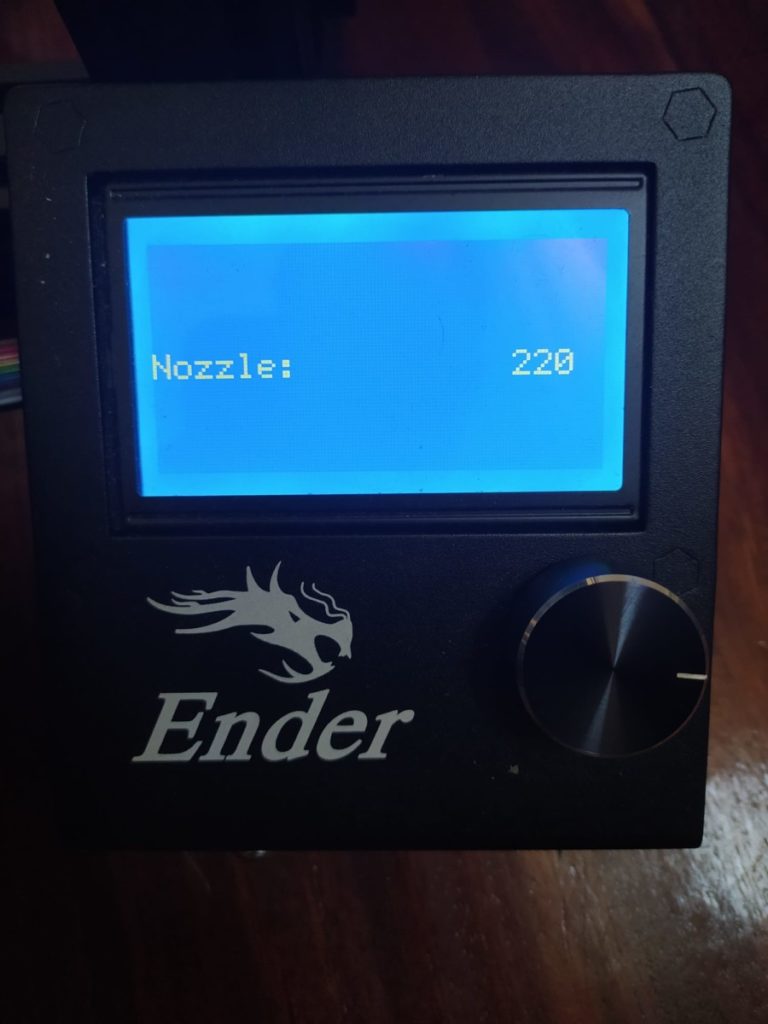
Plastic bonds much better the hotter it gets and if the layers of your print aren’t bonding together properly and breaking apart, then increase the printing temperature. For example; ABS generally prints at around 220-235C which will create a nice bond between the layers, printing below this, say 200C, will most likely yield weak prints.
Always check the instruction on the filament you bought to make sure at what temperature it should be printed at for best results, but if you feel that layer adhesion could be better, try gradually increasing it by 5C and do a couple test prints to see the results.
Here’s a table with the ideal printing temperatures for most filaments as well as their heated bed temperature, glass transition temperature, and more.
| Filament | Nozzle Temperature | Glass Transition Temp Tg (C) | Melting Temp Tm (C) | Heated Bed Temp | Warping Risk | Ease of Use |
| PLA | 180°C – 230°C | 60-65°C | 155°C | 60°C but not required) | Low | Easy |
| ABS | 230°C – 250°C | 105°C | 210°C | Approx. 100°C | Moderate | Intermediate |
| PETG | 230°C – 250°C | 80-82°C | 200°C | Approx. 100°C | Low | Easy |
| Nylon | 230°C – 260°C | 70-80°C | 217°C | 80°C – 100°C | Moderate | Intermediate |
| ASA | 220°C – 250°C | 100°C | 250-260°C | Approx. 100°C | Low | Intermediate |
| Polycarbonate | 270°C – 310°C | 147°C | 260°C | 90°C – 110°C | High | Difficult |
| HIPS | 230°C – 250°C | 88-92°C | 180 – 270°C | Approx. 100°C | Low | Intermediate |
| TPE | 210°C – 230°C | 60-130°C | 150–210°C | Not required | Low | Easy |
Adjust the Cooling fan
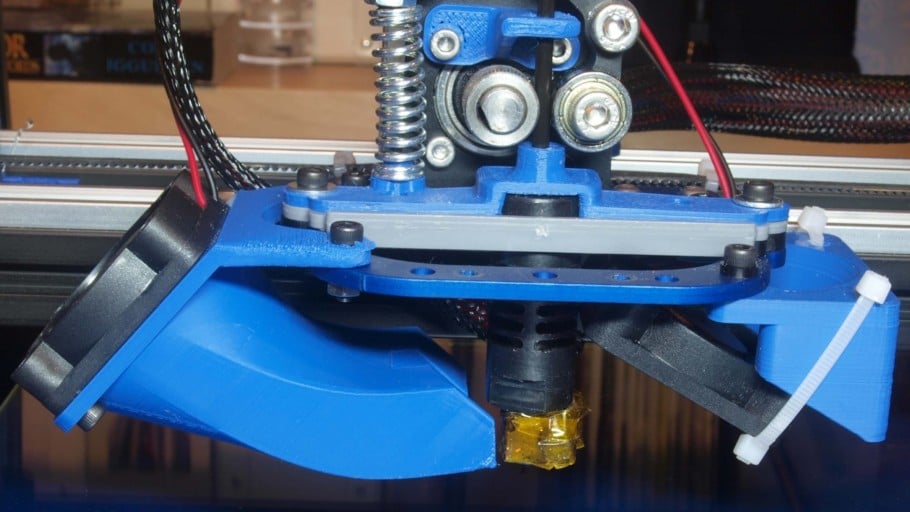
The fan on a 3D printer cools the layer of plastic that has just been laid down, however, if it gets cooled too quickly then the newly added plastic won’t be able to adhere to the previous layer as strongly, so lowering the fan speed could potentially increase layer adhesion and, therefore, the strength of the print. If you don’t
This follows the same concept as the previous point since increasing the printing temperature will result in better bonding of the layers and cooling them down too quickly may also yield the same undesirable result.
Note: Do a couple test prints where you decrease the fan speed by 10% each time until you reach the sweet spot.
Increase the Flow Rate (Extrusion Multiplier)
Even if your printer is not suffering from under extrusion it might help to increase the flow rate slightly if the layers aren’t adhering properly since this will extrude more molten plastic, and the more material there is the better the adhesion.
Under-extrusion can be witnessed as gaps between the layers of plastic, insufficient small layers, missing layers, or even small dots that are present on the print, and under-extrusion definitely plays an important role on your part’s strength as well.
Like everything in 3D printing, when adjusting the flow rate (extrusion multiplier) don’t do it drastically but rather in small steps and test the results.
By default, the flow rate is 100% (or 1.0), but since not all filaments and printers are created equal you may need to adjust this value either down or up.
Recommendation: Increase the flow rate in 5% increments and test the results until you reach the sweet spot.
Lower the Print Speed
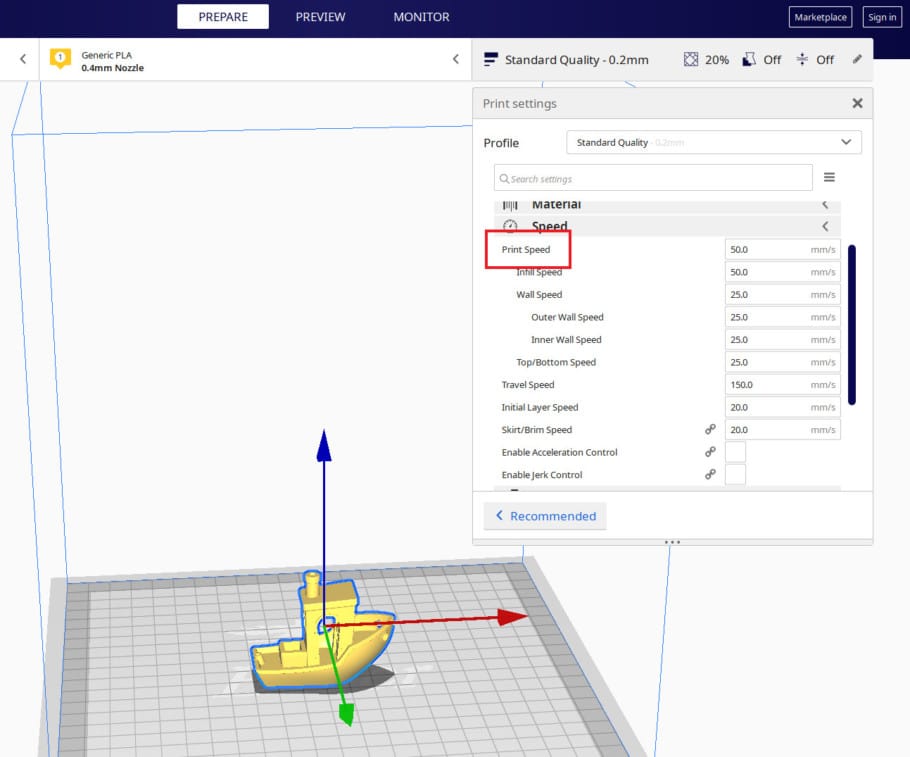
Just like increasing the printing temperature will allow the newly extruded plastic to better bond with the previous layer, lowering the print speed will have a similar effect. If the print head is moving too fast, then the extruded plastic may not have enough time to properly bond to the previous layer.
Not only that, but printing at a higher speed can also create another whole host of issues, such as under-extrusion (which also weakens the part), ringing, some visible artifacts, and just poor layer adhesion in general.
Recommendation: Lower the printing speed in 5mm/s or 10mm/s increments and test the results until you reach the sweet spot.
Use a wider Nozzle
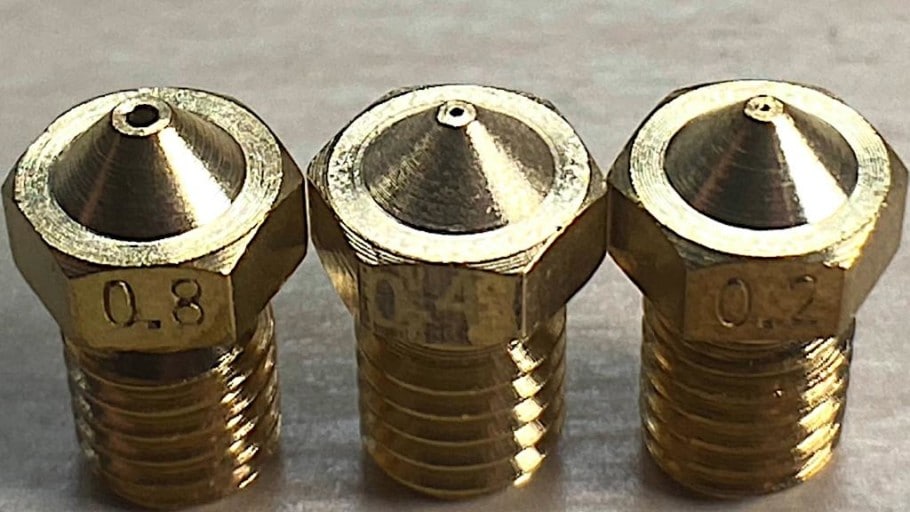
The nozzle diameter affects the width of the extruded plastic. Essentially, using a 0.8mm nozzle will lay down a strip of plastic twice as wide as a 0.4mm nozzle and increase the contact surface area, making the adhesion between the layers much stronger.
I already mentioned that using a lower layer height results in a stronger layer adhesion because it increases the surface contact area. Well, if you increase the nozzle size and still use that same low layer height, all the layers will have a lot more contact surface area to create a stronger bond.
It’s worth noting, however, that increasing the nozzle size will yield significantly less detailed prints in the horizontal plane (when looking at them from the top or the bottom) since the layers are much wider.
Recommendation: Increase the nozzle size by 0.2mm and keep the same layer height as before and check the results. You can always change to a wider nozzle if you need the print to be stronger. You can also go ahead and buy this cheap collection of nozzles in all sizes (with some extras tools).
Important Note: Increasing the nozzle size may require you to increase the printing temperature. Example; With a 1.2mm nozzle you may need to print regular PLA at 240C instead of at 200-220C.
Check if the Nozzle is Clogged
The clogging of the nozzle means that the little hole at the end of it gets blocked, be it either because of dust- or any other strange particle buildup, filament impurities, heat creep, and the use of less common filaments, such as carbon fiber, wood-infused plastics, etc., and this clogging will result in under-extrusion (less plastic flowing out of the nozzle) which leads to weaker prints.
The good news is that fixing a clogged nozzle is quite easy to fix, and in most cases, since most of us print with PLA, PETG or ABS anyways, clogging doesn’t really happen all that often.
But, if your print is suffering from poor layer adhesion, it may be because of the nozzle being clogged.
How to clean a clogged nozzle
There’re multiple ways of approaching this issue, but here are two fairly simple ones that shouldn’t take too much time and fix the problem in most cases:
Heat the nozzle and then using a needle:
This one is fairly simple and should solve the problem most of the times.
- Heat the hotend to the printing temperature of the filament.
- Using a needle, usually included with the 3D printer, push the filament through the nozzle hole into the hotend.
- Manually push the filament and see if it comes out the nozzle.
Here you’re not trying to get the particles that are clogging the nozzle out of it, but rather trying to push them back in and breaking them up.
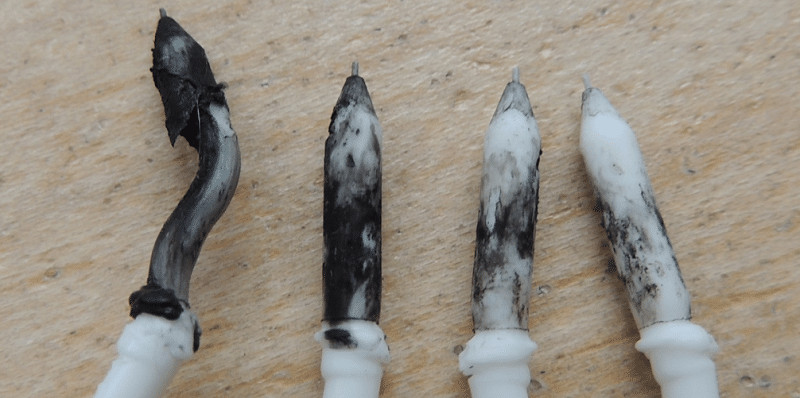
Another way is to do a “cold pull” which goes like this;
- Step 1: Heat the nozzle to 220°C (If you just printed with PLA).
- Step 2: Insert a piece of white or light-colored Abs, Nylon, or any strong filament with good thermal resistance.
- Step 3: Push it manually as hard as possible.
- Step 4: Observe if the filament flowing through the nozzle (if the obstruction is total, it may not extrude anything).
- Step 5: Let the printer cool down to around 90°C for PLA and 160°C for ABS. Keep the pressure during cooling.
- Step 6: When the printer reaches the lowest temperature mentioned in step 5, remove the filament quickly and forcefully from the hotend and inspect the semi-fused part of the filament. This must have a little bit of dirt (black spots). Those black spots were causing the blockage.
- Step 7: Cut the dirty part of the filament and repeat from step 2 until the filament comes out clean.
Source: rigid.ink
Conclusion
Layer delamination isn’t as big of a deal nowadays since 3D printer manufacturers have found ways of addressing it pretty successfully.
However, if it does happen to you (more common with ABS), then try following the steps I laid out in this guide. The best fix would be to use an enclosure or even to cover the entire printer with a garbage bag, but this could be a real fire hazard.
I that doesn’t work, try out all the different options I listed one at a time so that you can properly gauge which setting provides the best results.
Check out our recommended products section

We created a recommended products section that will allow you to remove the guesswork and reduce the time spent researching what printer, filament, or upgrades to get, since we know that this can be a very daunting task and which generally leads to a lot of confusion.
We have selected just a handful of 3D printers that we consider to be good for beginners as well as intermediates, and even experts, making the decision easier, and the filaments, as well as the upgrades listed, were all tested by us and carefully selected, so you know that whichever one you choose will work as intended.
Error processing API data.