The world of 3D printing has come a long way since its inception in 1983. At that time, 3D printing was largely used to produce models and prototypes.
Since then, advancements in technology and materials have facilitated the use of 3D printing pieces in many industries. These include manufacturing and engineering, research, art, healthcare and much more.
Today, the most common method of 3D printing is Fused deposition modeling (FDM).
Now that you have some background information, let’s answer the question, shall we?
Is 3D printing easy?
Most commercial 3D printers are built with beginners in mind, and setting them up and getting them to print is nowadays quite simple. If you want to print a design from an online library, it will only take you a couple of days to get quality prints.
However, creating your own designs using CAD software is a much more complicated process, which means that creating your own quality prints without prior experience could take up to several months.
Follow along as I explore the ins and outs of 3D printing, the different software you need to learn to become a good 3D printer, and what you need to know to learn this valuable skill.
Using 3D Modeling Software (CAD)
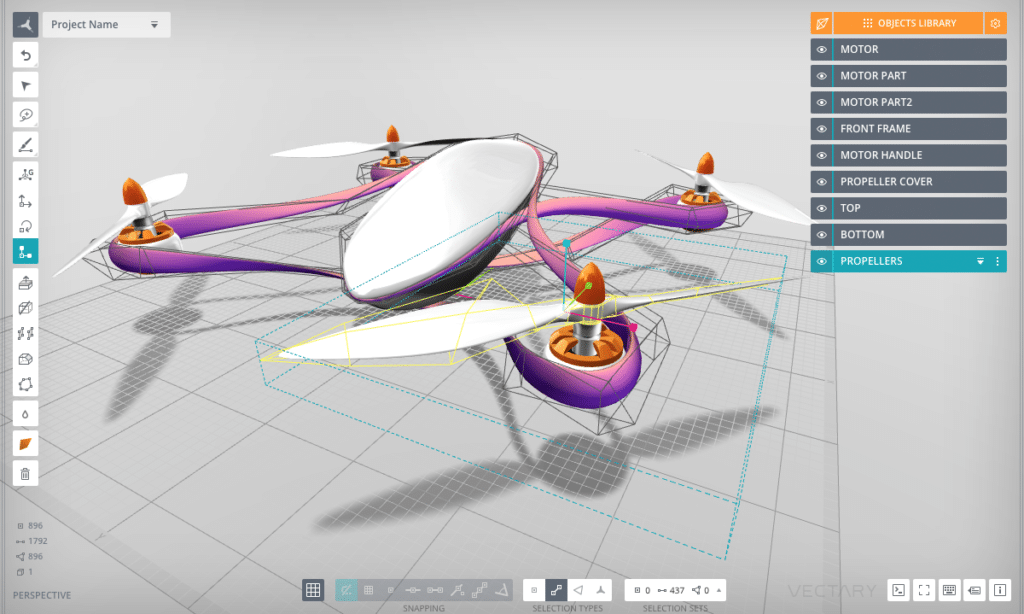
Computer aided design (CAD) software generates blueprints or drawing drafts of your models. It can produce, manipulate, evaluate and consequently, improve the efficiency of model designs.
CAD software is predominantly used in mechanical design. Fortunately, CAD programs accommodate designers of all levels.
Accordingly, in order to grasp 3D printing, you must learn how to use the software programs involved. You should choose your software program based on your 3D printing goals.
Try to think of what you’re looking to create, for what industry and for what purpose? That way you can find the software program best suited to your needs.
Having said that, creating your own designs is probably the most challenging part about 3D printing and also the most time-consuming.
Some notable CAD software programs include:
- Blender: Blender’s a free software that can be used for personal or commercial use. It’s used for animation, editing, game design and 3D printing.
- Zbrush: Zbrush is available under a paid license but they do offer a free 30-day trial. It has photorealistic and production-quality sculpting tools so it’s mainly used for sculpting projects.
- Autodesk Fusion 360: Autodesk Fusion 360 offers a basic and limited version for free for 1 year of personal use. The software is more focused on 3D printing as it can’t be used for game design or editing video.
My recommendation for CAD software is the Autodesk Fusion 360, and this is because it uses a parametric approach to producing prints:
Parametric representations use equations to define the locations of points that form geometrical shapes. This results in designs with precision, functionality and professionalism.
Fusion 360 uses more mathematical equations than Blender and Zbrush. With that said, Fusion 360 also features a cloud platform that can be used to collaborate with others on projects.
Acquiring Designs
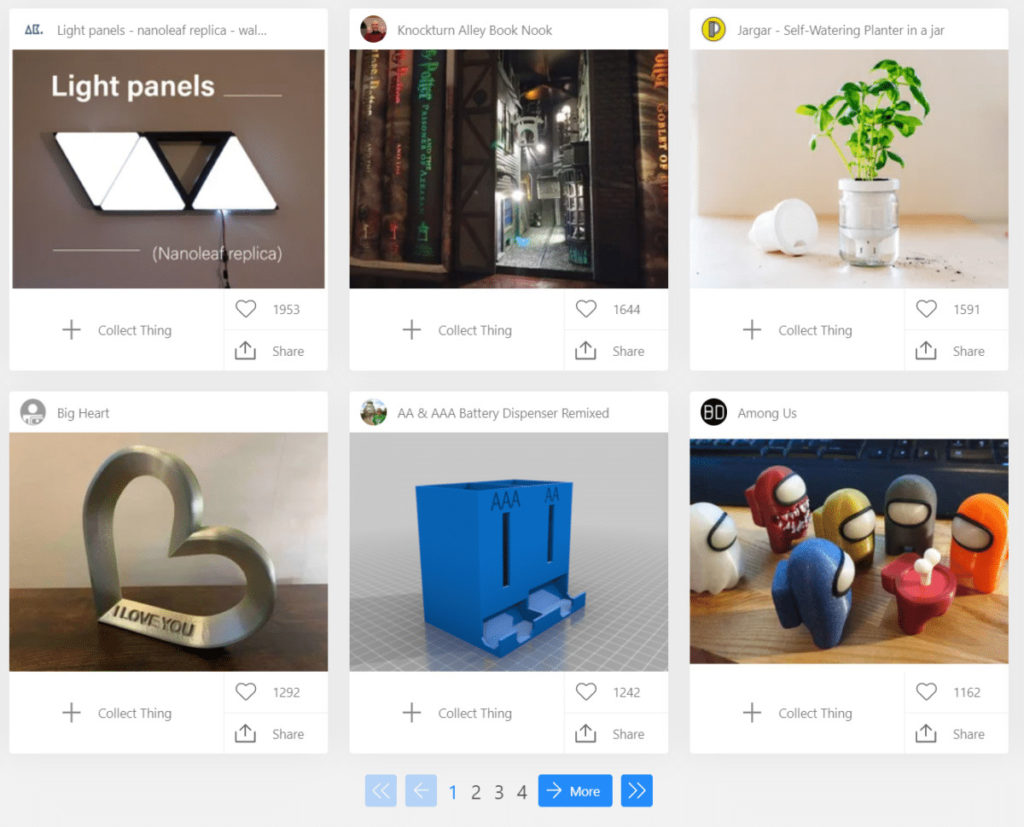
If you’re a beginner designer, coming up with your own designs can be an intimidating task. It usually requires experience and more knowledge in the 3D printing industry.
Instead of using the CAD software to produce drafts, you do have other options since there are several online libraries in which creators post their designs for anyone to download and use, and this helps you get going and printing a lot quicker.
Plus, the designs have been successfully tested so you can be sure they’re functional for 3D printers.
These downloads are STL files which is the universal file format for 3D printing: Standard Triangle Language (STL) is a file format that represents the surface of 3D geometrical shapes using several connected triangles.
This list is not exhaustive but here are some websites with downloadable designs:
- Thingiverse: MakerBot are the people behind Thingiverse and they claim to have the largest community for 3D printing. But, because they have such a large community, the site waiting times can be lengthy.
- MyMiniFactory: MyMiniFactory is associated with the 3D printing company iMakr. It’s geared more towards gamers and offers free or paid for files.
- Pinshape: Pinshape functions as the ebay of 3D printers and accessories. At the same time, you can find plenty of free STL files to download for all your 3D printing goals.
- 3D Solved: Our own search engine works as an aggregator of sources, meaning that it will yield the most relevant results from the most popular 3d printing websites. Additionally, we also included quite a few smaller but very interesting sources, like NASA, the National Institute of Health, the Smithsonian, and ScanTheWorld, among others.
Using Slicing Software
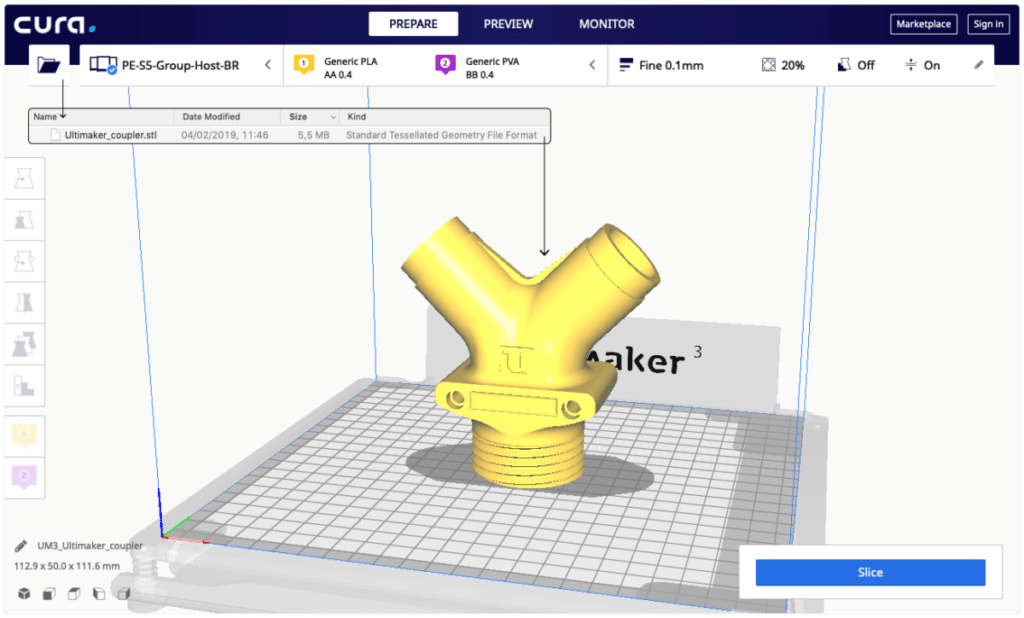
Slicing software is a must for 3D printing and enhances the complexity of your model. This software is responsible for translating your design into a coding language called G-code that the 3D printer understands. G-code is a programming language that instructs automatic tools on how to create something.
The slicing software makes specific instructions for the printer such as which direction to take, speed, changes in speed at specific points, layer thickness, temperature of the extruder, the infill percentage, and more.
Disclaimer: While this may sound complicated and hard to learn, don’t feel discouraged as Slicers are easy to use and come with preconfigured settings to get you started.
Here is a breakdown of the meaning of some basic settings:
- Layer thickness: This is the filament height of each layer in your model. The thinner the layers, the longer it will take but the more clean and detailed the print. So even though thicker layers appear more disorderly, the printing time will be shorter.
- Temperature of the extruder: Every material has its own temperature for optimal printing. Otherwise, the material may warp or break apart.
- Infill Percentage: This is the density of the inside of the object you are printing. A 100% infill setting will produce a solid and heavier object. But, it will require more material and time to print.
- Shell thickness: If you’re creating a hollow object, this is the number of times the outer layer is retraced to make the walls of your print. The higher the number, the thicker and stronger the outer walls will be but again, it will take more filament and time.
- Retraction: If you’re printing an object that’s not continuous in its surface, this setting is used to tell the extruder when to stop and start again.
In addition, you can configure settings for support material through the slicing software: Support material is used to support your structure during the printing process and will be removed after.
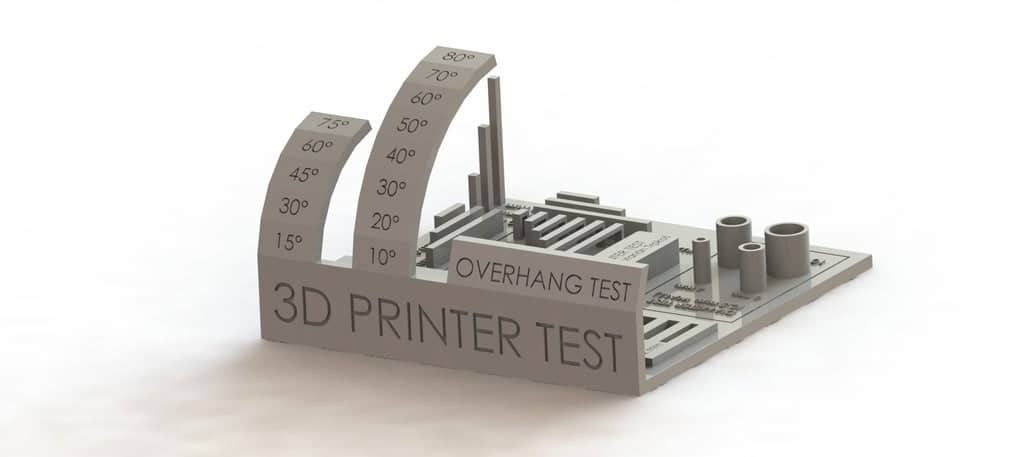
For example, if you have a structure with an overhang or a bridge with no base beneath it, it needs to be supported for it to be successfully printed.
Moreover, there are advanced settings involving Geometric Dimensioning and Tolerancing that can optimize the design process. This involves adding information into the slicing software about the intended use of the piece.
Troubleshooting Printer issues
Over time you will run into technical difficulties with your printer, which just adds another layer of complexity to the whole thing, but knowing how to solve problems with your 3D printer comes with experience and practice.
Luckily, if you’re just starting out, there are many helpful resources online.
First, 3D printer and accessory websites have troubleshooting pages. Here’s where you can find frequently asked questions, articles and blogs about common issues.
Secondly, there are online chat options and hotlines dedicated to technical and product or customer support issues.
Thirdly, there are numerous online forums and 3D printing communities where you could discuss your problems with other enthusiasts.
And the easiest way to get your question answered? Simply google it, it will automatically search if parts of your query are found in any or all the options I’ve mentioned above.
How much time does it take until you can print good-quality parts?
This is a subjective question because learning how to make quality prints depends on several factors.
To start with, the type and brand of 3D printer you use are crucial:
When possible, get a printer that is not fully pre-assembled. If you must put one together on your own, usually the more expensive the printer is, the easier it is to assemble, or it even comes fully assembled. The process of assembling a 3d printer is not as hard as you would assume, and you will get a great deal of experience in doing so. Being an owner of a few printers myself, I recommend taking a look at the Ender 3 Pro (check out my full review here)
Next, knowing how to master both the CAD software and the slicers:
As you now know, there are a variety of settings with functions that can contribute to the integrity of your print, and learning what of each of those settings does and when to use them will take time.
Do your research and look into what others use for certain prints and instructions for the proper use of your instruments. Likewise, find out which type of material is best for your tools, how each one works and its ideal temperature.
All in All, you can expect to learn the skill of 3D printing within several weeks or several months. Each case is specific to your instruments, tools and time spent getting used to them.
If you’re just printing a design you downloaded from an online library, then you could have it all up and running in a matter of days or even hours, depending on the printer you got.
On the other hand, printing your own designs will take much longer since you will need to learn CAD, especially if you want to print complex designs.
When does 3D Printing actually become hard?
Printing multidimensional models can become even more elaborate. Learning how to make innovative and/or functional designs and really mastering the software can be challenging.
It’s also troublesome for current printing technologies to simultaneously use multiple materials for one model. And, if that’s accomplished, understanding how to make 3D prints with multiple materials is questionable.
A seasoned CAD designer will develop an anticipatory nature and be able to identify potential problems with designs and instruments.
Final Thoughts
So, is 3D printing easy? In short, it’s a skill that requires nurturing to improve but it’s not impossible. Modern technologies are smoothing out the learning process.
Printing designs that someone else created, like the ones you can download from Thingiverse, is nowhere near as complicated as creating your own and you should be able to have everything up and running fairly quickly.
Creating your own designs is harder, but even then you only need to invest some time and practice.
Hopefully, I’ve given you most of the information and tips needed to get you on your way to 3D printing.
Check out our recommended products section

We created a recommended products section that will allow you to remove the guesswork and reduce the time spent researching what printer, filament, or upgrades to get, since we know that this can be a very daunting task and which generally leads to a lot of confusion.
We have selected just a handful of 3D printers that we consider to be good for beginners as well as intermediates, and even experts, making the decision easier, and the filaments, as well as the upgrades listed, were all tested by us and carefully selected, so you know that whichever one you choose will work as intended.
Error processing API data.
